What Is Hard Surface Repair? A Beginner’s Guide to Baths, Worktops and UPVC

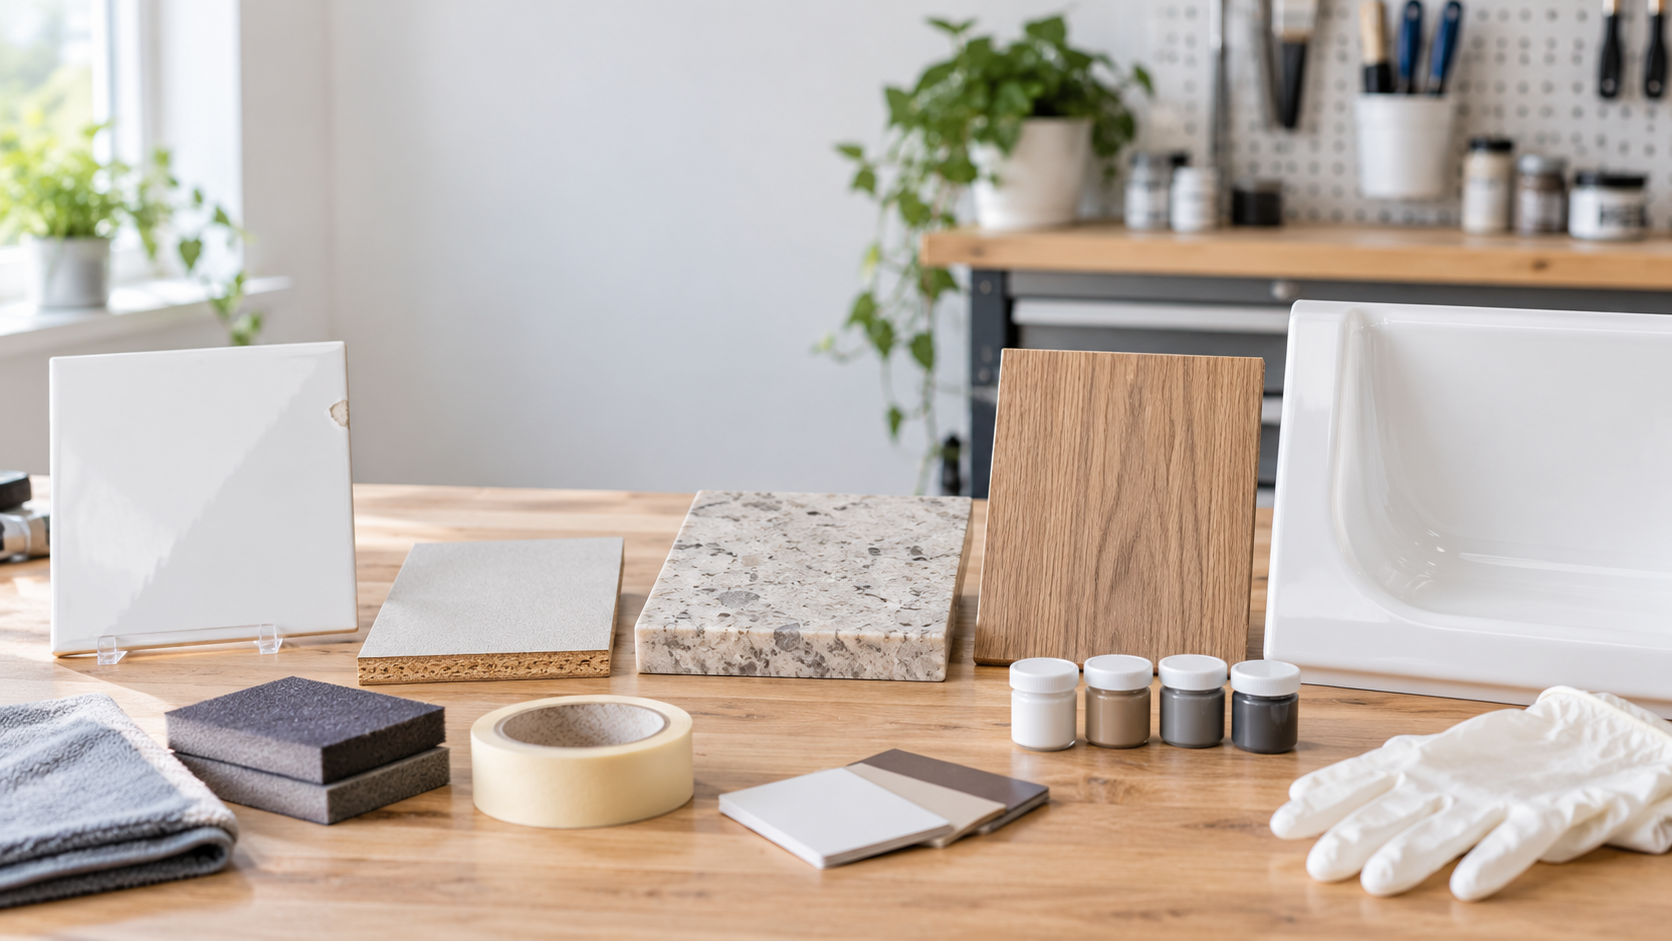
Cosmetic hard surface repair is the process of improving the appearance of a damaged finished surface without replacing the whole item. It is used on sound baths, shower trays, kitchen worktops, doors, UPVC frames, tiles, laminates, plastics, sinks, granite, Silestone, wood and other decorative hard finishes around the home or office.
The important word is cosmetic. These methods do not restore structural strength, correct poor support or guarantee waterproofing. A leak, movement problem or structural failure must be dealt with separately before any cosmetic work is considered.
Want to learn the complete cosmetic repair process?
Surface Defect Masters brings together practical demonstrations, equipment guidance and printable resources for repairing decorative hard surfaces around the home or office.
A massive discounted relaunch offer is now live.
What cosmetic hard surface repair actually means
Chips, scratches, dents, small burns and localised coating damage can often be treated cosmetically when the underlying item is sound. This includes suitable damage to tiles, laminates, plastics, granite, Silestone, wood, baths, sinks and worktops. The first professional habit is to assess the item before reaching for a filler or coating.
Surface cracks need more caution. A crack in a bath or shower tray may be cosmetically reduced only after the cause has been assessed and the item is confirmed to be properly supported. If the crack is caused by movement, flexing or structural failure, a cosmetic repair may fail. It should never be presented as a repair for a leaking bath or shower tray.
Which defects can often be treated cosmetically?
- Chips and small impact marks on a sound surface
- Scratches and scuffs
- Small burns or heat marks
- Worn edges and localised coating damage
- Minor holes that can be properly filled and supported
- Colour damage where the surrounding surface is still sound
The size, depth, location and material all matter. A mark on a visible front edge usually needs more careful shaping and blending than one on a low-visibility area. Gloss, texture, grain and lighting can also change how noticeable the result looks.
When cosmetic work should not be used
Do not treat every defect as a cosmetic job. Stop and investigate the underlying problem when:
- The bath, tray, sink or worktop is moving, flexing or poorly supported
- There is an active leak, water ingress or dampness behind the finish
- A crack continues into the structure, fixing points or plumbing area
- The damage is large enough to weaken the item
- The coating may contain hazardous material that you cannot safely identify
- The defect affects a safety-critical component
If an item is leaking, repair the leak or replace the failed component rather than relying on a cosmetic coating. If a crack is caused by movement or structural failure, correct that cause first. A cosmetic repair can improve appearance, but it cannot promise structural strength or permanent watertightness.
Always follow the product manufacturer’s instructions. If preparation involves solvents, dust, vapour or two-part products, read the safety information before starting. UK readers can use HSE COSHH guidance; US readers should consult relevant OSHA construction safety guidance.
The basic cosmetic repair sequence
1. Inspect and clean
Identify the substrate, locate the full extent of the cosmetic damage and remove grease, soap residue, polish and loose material. Cleaning is part of the process, not an optional extra.
2. Prepare the edges
Remove loose or feathered surface material carefully. Abrade the surrounding area enough to provide a suitable key while avoiding unnecessary damage to the intact finish.
3. Fill and shape
Choose a material that suits the substrate and cosmetic defect. Apply only what is needed, allow it to cure as directed and shape it gradually. Removing a little at a time is easier than rebuilding an area after taking too much away.
4. Refine the surface
Sanding and blending should follow the repair material and coating instructions. Inspect the area from more than one angle because side lighting can reveal edges that are invisible from straight on.
5. Match colour and finish
Colour matching is controlled observation, not guesswork. Compare the cosmetic repair with the surrounding surface in the lighting where it will normally be seen. Apply thin, controlled layers and allow them to dry before deciding whether another adjustment is needed.
6. Check the result
Look for visible edges, pinholes, texture differences, gloss variation and colour change after drying. Photographing the result before and after can help you improve future cosmetic work.
A sensible beginner’s tool kit
- Cleaning and degreasing materials
- Suitable abrasives and a sanding block
- A scraper or razor used carefully
- Compatible filler or cosmetic repair compound
- Mixing and disposable application tools
- Masking tape and clean lint-free cloths
- Colourants or coatings suitable for the substrate
- Appropriate gloves, eye protection and respiratory protection
Specialist spray equipment, heat tools, compressors and fine finishing products can be added as your work develops. Start with sound surfaces and small cosmetic defects, then expand your equipment as your results and workload justify it.
Common beginner mistakes
- Starting before the surface is clean and dry.
- Using a product that is not compatible with the substrate.
- Applying too much filler and creating a large sanding job.
- Trying to colour-match before the surface is properly shaped.
- Judging the finish under only one type of lighting.
- Ignoring ventilation, PPE or the manufacturer’s cure times.
- Describing a cosmetic finish as structural, waterproof or guaranteed.
How to learn the process properly
The quickest route to confidence is to learn the sequence, practise on suitable test pieces and record what changes the result. The Surface Defect Masters course brings the cosmetic process together with demonstrations covering baths, worktops, UPVC, doors, tiles, sinks, laminates, plastics, stone-effect finishes and other decorative surfaces. It also includes equipment guidance and printable reference material.
You can continue exploring practical home-maintenance guidance in the Handyman Hub project guides and use the site’s calculators and planners when a cosmetic repair forms part of a larger project.
Frequently asked questions
Are these structural repairs?
No. They are cosmetic surface treatments. They can improve the appearance of a sound item but do not restore structural strength, correct movement or guarantee waterproofing.
Can a chip in a bath or sink be treated cosmetically?
Often, yes, if the item is sound, stable and not leaking. The surrounding surface and the cause of any movement should be checked first.
Can a crack in a bath or shower tray be treated cosmetically?
Only with caution and a clear disclaimer. If the crack is caused by structural movement, poor support or flexing, a cosmetic repair may fail. Investigate the cause first.
Can I cosmetically repair a leaking bath or shower tray?
No. A cosmetic coating should not be used as a solution for a leak. Find and fix the underlying failure or replace the affected item.
Will every cosmetic result be invisible?
No. The result depends on the substrate, damage, lighting, texture, colour and quality of preparation. A realistic aim is a neat cosmetic result that blends well in normal use.
Do I need expensive equipment?
Not to begin learning. A sensible starter kit can cover basic preparation and small cosmetic work. Specialist tools become worthwhile when you have a repeatable process and enough suitable work to justify them.
What should I do before using a chemical product?
Read the label and safety data, provide suitable ventilation, wear the recommended PPE and follow the stated mixing and curing instructions. Never combine products unless the manufacturer says they are compatible.
Final thoughts
Cosmetic hard surface repair is a practical skill built on assessment, preparation and controlled finishing. Start with small defects on sound, stable items. Never use cosmetic terminology to disguise a leak or structural failure, and refer those problems for proper repair or replacement.