Start a bathroom waterproofing order with two lists: surfaces to cover and details to seal. The first tells you about membrane quantities. The second catches corners, joints, penetrations and drain connections that a square-foot total cannot describe.
The bathroom waterproofing calculator helps organize those purchases for a chosen system. It also uses “tanking,” a term common in UK product descriptions. Before measuring, confirm the approved system and waterproofing extent for your project. This guide helps order that specification; it doesn’t design a shower assembly.
Mark the surfaces on a simple elevation sketch
Draw the walls as flat rectangles, label their widths and the height to be treated, then add the floor and any other specified surfaces. A floor-plan area alone misses most of the material in a shower with tall walls.
Look for niches, benches, curbs, window returns and changes of plane. A niche removes a patch from the front wall but adds surfaces inside the recess. A bench has faces as well as a top. Measure the surfaces actually receiving the selected product rather than using the outline visible from the doorway.
Sloping surfaces need their actual developed area where it materially affects the quantity. A level floor-plan rectangle is a useful early allowance, but it isn’t a measurement of every finished shower base. Confirm the final dimensions from the chosen tray or mortar-bed design before purchasing.
Work through a simple shower allowance
For a basic planning example, take a back wall 5 feet wide by 8 feet high and two side walls each 3 by 8 feet. The walls total 40 + 24 + 24 = 88 square feet. Add a simplified 5-by-3-foot floor allowance of 15 square feet and the total becomes 103 square feet.
This example excludes a curb, niche, bench and other extra details. It also uses a rectangular floor allowance rather than a developed sloping-base measurement. Keep those limitations beside the number instead of describing it as a complete quantity for every 5-by-3-foot shower.
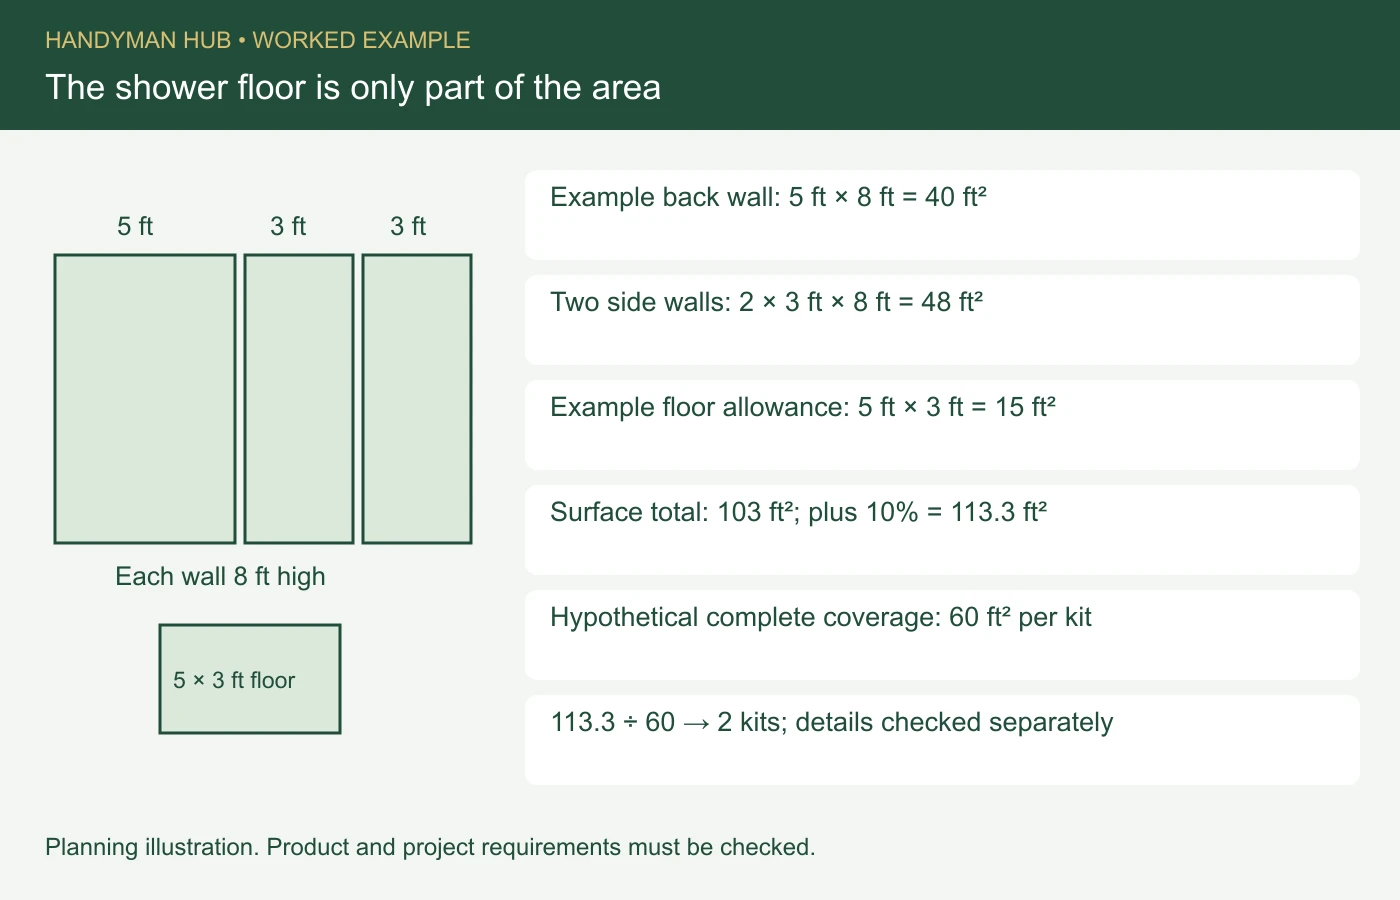
Suppose a hypothetical kit provides 60 square feet of complete-system coverage. With an illustrative 10% membrane reserve, allow for 103 × 1.10 = 113.3 square feet. Divide by 60 and round up: two kits.
The live calculator confirms the result using four Imperial surface rows: 5 × 8, 3 × 8, 3 × 8 and 5 × 3. Choose Complete-system area covered per pack/kit, enter coverage 60 and reserve 10%. The output shows 103 square feet, 113.3 with reserve and two membrane packs. Replace the example kit coverage with the exact manufacturer’s figure.
Check whether the coverage already includes all coats
This is one of the easiest places to double an order accidentally. A liquid product might state consumption for one coat, while a kit description might state the area completed with all required coats. Those are different inputs.
The calculator offers complete-system coverage, all-coats consumption and single-coat consumption. Only the single-coat consumption method multiplies by the specified coat count. If you use complete-system coverage and then multiply the surface area by the number of coats yourself, you may count the same requirement twice.
For consumption figures, also distinguish mass from volume. Kilograms and liters aren’t interchangeable without product-specific information. Use the unit and pack size stated on the technical sheet. Don’t stretch a container beyond its specified coverage to make a theoretical kit count work.
A kit count is not an accessory check
Two kits with enough membrane may still lack enough corner pieces for a shower with several niches or a bench. Conversely, adding all accessories separately can duplicate items already supplied in the kits. Lay out the actual kit contents beside your detail list and reconcile them item by item.
Schluter’s shower-system checklist is a useful example of how a manufacturer separates membranes, corners, seals, drains and other components. Its entries are specific to that product family. Use the corresponding list and instructions for your chosen system rather than mixing visually similar components.
Measure sealing-band runs along the actual joints. Count any splices and the overlap required at each one. The calculator adds entered splice allowances to the measured tape length; don’t include them twice. Perimeter joints and the seams between sheets can both contribute to the total, depending on the system.
Count the details on the drawing
Put a mark beside every internal corner, external corner, pipe penetration and drain connection that needs a specified detail. This makes omissions easier to see than a list of quantities with no locations. If one product covers several details as a prefabricated part, record exactly what it replaces.
The calculator provides separate counts for corners, collars and drain seals, but it cannot identify the required part from the drawing or prove the connection is watertight. Schluter’s KERDI product guidance, for example, directs users to its complete installation handbook for system requirements. Keep that kind of product instruction with the order.
Primer also has its own coverage. Confirm where it is required and whether the entered coverage includes the complete specified treatment. Closing an optional section doesn’t necessarily remove its values; check the printed result to see which purchases remain included.
Keep the next trades’ quantities distinct
The tile, grout and adhesive calculator handles a separate material order. Waterproofing reserve doesn’t replace tile cutting waste, and tile adhesive isn’t automatically the material used to install every membrane.
If a specified mortar bed is part of the design, use the floor-volume and bag-yield guide for its quantity basis. Finish by saving the waterproofing estimate, surface sketch and checked accessory list together. That package gives you something concrete to review with the installer before the walls are covered.
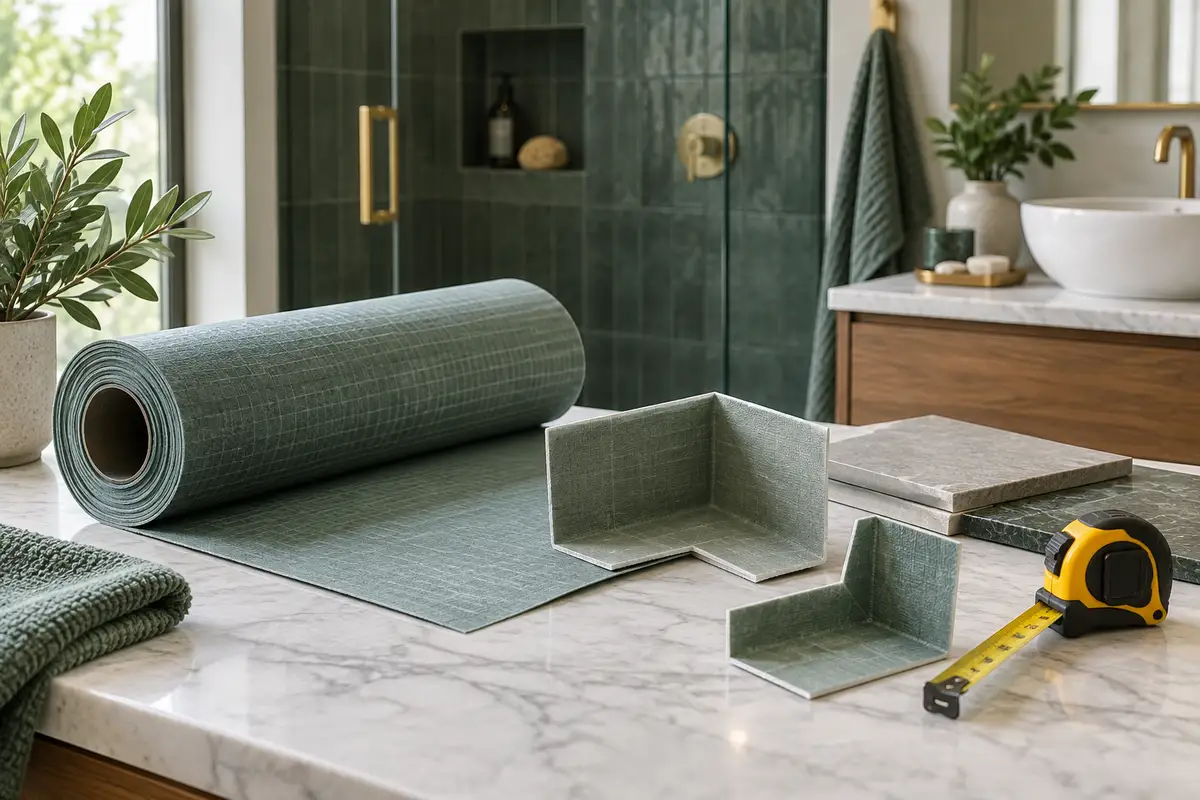
Featured image: original concept illustration, not a completed Handyman Hub customer project.