A fence order can look straightforward until you reach the last bay. The panel is too wide, the gate needs a different post, or the boundary changes direction just where the calculation assumed a straight line. Most of those surprises begin with treating the whole garden edge as one number.
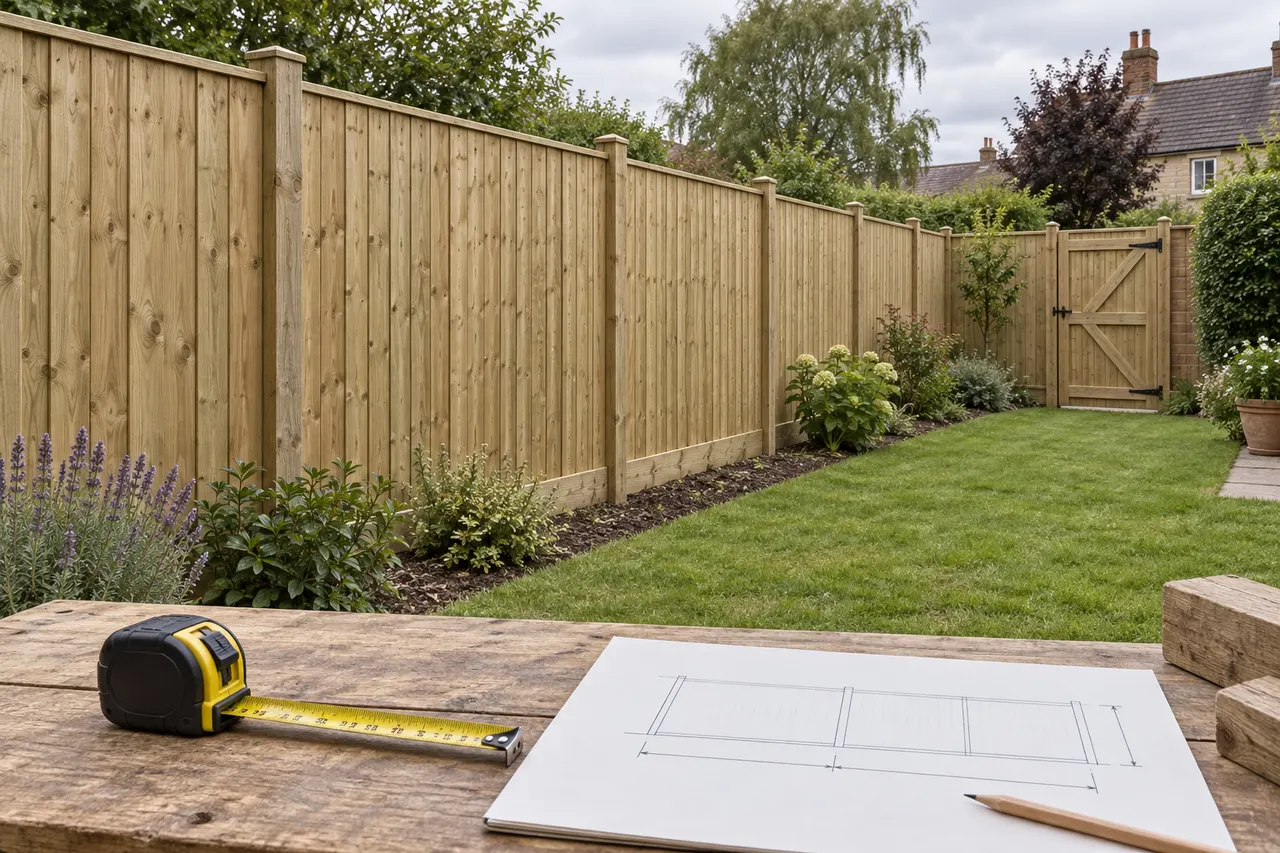
Start by drawing the fence as separate runs, then settle the boundary, product dimensions and installation arrangement. Our free fence calculator will help turn your inputs into quantities, but the sketch is what makes those quantities meaningful. This guide is about planning a replacement and a sensible order, not specifying structural post sizes or footing depths.
Check the boundary before removing the old fence
An old fence is a visible feature, not necessarily proof of the precise legal boundary or ownership. GOV.UK’s property boundary guidance explains that most title plans in England and Wales show general rather than exact boundaries and links to separate routes for Scotland and Northern Ireland. Review the relevant documents and discuss access and proposed work with your neighbour before starting.
If there is a disagreement, resolve it before removing posts or moving the fence line. Keep photographs and records of what has been agreed. Do not rely on a general rule about always owning the left-hand or right-hand fence. If you are a tenant or leaseholder, obtain the required permissions from the owner or managing party as well.
Check height and local restrictions in the right jurisdiction
For England, the Planning Portal fence guidance describes the usual permitted-development limits: up to 1 m next to a highway used by vehicles, including its footpath, or 2 m elsewhere, subject to conditions and exceptions. Listed buildings, planning conditions and withdrawn rights can alter the position. Replacing an existing taller fence has its own conditions; do not assume a taller replacement is automatically acceptable.
Those are not blanket UK rules. If the property is in Wales, Scotland or Northern Ireland, check the relevant local planning guidance. Ask the local authority where the position is unclear, particularly for a front boundary, a corner plot or a protected building. Height permission does not confirm that the proposed fence is suitable for wind exposure or the ground conditions.
Draw runs, corners and gates separately
Give every straight run a label: A, B, C. Record its measured length and the intended height. Mark corners, changes of level, buildings, existing posts to retain and gate openings. Note whether a run connects to another or has its own two ends. This avoids counting a shared corner twice or forgetting an independent end post.
For a gate, write down the required opening, the chosen gate width and the supplier’s allowances for hinges, latch and movement. These are not necessarily the same measurement. A gate post can have different requirements from an ordinary intermediate fence post. Keep it as an identified item in the specification rather than assuming any spare post will do.
| Sketch label | Example note | What it affects |
|---|---|---|
| Run A | Straight rear section | Panel or board quantity and bays. |
| Corner A–B | Shared junction | Post count and compatible corner detail. |
| Gate G1 | Opening and swing marked | Gate, posts, hinges, latch and usable access. |
| Level change | Step or slope recorded | Panel arrangement and bottom gaps. |
| Retained post | Condition and dimensions to check | Whether new products can actually connect. |
Use real product dimensions, not just “six-foot panels”
Check the manufacturer’s actual width and the installed spacing required by its post system. A nominal description is not a setting-out dimension. Jacksons’ Chilham panel page, for example, specifies a standard panel width of 1.83 m and discusses reducing width with the appropriate kit. That is one product example, not a universal size for all panels.
Post thickness, rebates, slots and fixing clearances can affect the installed module. The calculator’s panel mode divides net fencing length by panel width; it does not lay out every real post face and slot along your boundary. Reconcile its result with the supplier’s installation drawing before ordering or setting posts. For a run that almost divides exactly, this check is particularly important.
If reusing posts, measure the available openings and assess their condition before choosing panels. A replacement panel of roughly the same advertised size may still fail to fit an old bay. Record each opening where the existing line is irregular instead of averaging them into one apparently convenient number.
Fence calculator walkthrough
- Open the Fence Calculator & Material Estimator. Set Measurement System to metric and Currency to GBP if those match your project.
- Under Fence Layout, enter Run Length and Fence Height in metres. Add another run when the line changes direction or you have a separate section.
- Enter Gate Openings and Total Gate Width for that run. Use Additional Gate Posts only for posts your checked layout needs beyond the calculated arrangement.
- Choose Pre-made Panels, Boards / Pickets or Custom Bays. In panel mode, enter actual Panel Width and Panel Height in millimetres.
- Enter any deliberate Panel Extra / Waste %. Keep an installed quantity separate from a spare purchase. A whole spare panel can be a large percentage on a short fence.
- Work through Fence Posts and the optional rails, gravel-board, concrete and fixing sections using the specified system. The tool does not choose safe sizes or depths for you.
- Add relevant delivery, hire, disposal and labour if you want a cost estimate. Keep tax and markup assumptions explicit and avoid adding them twice.
- Press Calculate Fence Materials & Cost. Compare Materials to Order with the detailed run breakdown, then use Print / Save Results as PDF to keep the assumptions with the estimate.
Worked example 1: a gate changes the infill length
For a simple calculator demonstration, enter a 10 m run, one gate with 1 m total opening, and panels 1,800 mm wide. The net infill length is 10 − 1 = 9 m. Dividing 9 by 1.8 gives five panels. With no extra allowance, the live calculator returned five panels and six calculated posts.
The six-post result is the tool’s basic bay calculation with no additional gate posts entered. It is not a complete gate-post specification. Draw the actual gate and ends, identify which posts are shared and add any required extra gate posts. Likewise, reconcile the nominal nine metres of panel coverage with the real installed module of your chosen post system.
Worked example 2: separate runs can need more panels than one combined length
Consider two independent infill runs of 4 m and 5 m using a simplified 1.8 m panel coverage. The first needs 4 ÷ 1.8 = 2.22, rounded to three panels. The second needs 5 ÷ 1.8 = 2.78, also rounded to three. That is six panels before any deliberate spare allowance.
Combining the lengths first gives 9 ÷ 1.8 = five panels, but that assumes cuts and offcuts can be used across the runs. A pre-made panel may need a proper cut-down detail, and an offcut may not be reusable as another finished panel. Count runs separately unless you have checked a workable cutting plan. The simplified bay model gives four posts per independent run, or eight total; an actual shared corner or different gate arrangement changes that count.
Build the rest of the order around the chosen system
Panels are only one line. Check posts, caps, gravel boards if used, appropriate fixings, gates and hardware. Some items arrive with fittings; others do not. Ask the supplier what comes in the pack rather than ordering a second set of included brackets or discovering none were supplied.
| Item | Ordering question |
|---|---|
| Posts | Correct type for ends, corners and gates; length and embedment specified? |
| Gravel boards | Compatible length and connection; included in overall height? |
| Fixings | Suitable type, quantity per connection and pack size? |
| Concrete or post mix | Required hole arrangement and actual bag yield confirmed? |
| Gates | Opening, swing, posts, hinges, latch and stops specified? |
| Delivery and disposal | Access, unloading, old material and excavation spoil allowed for? |
If you use the optional concrete section, enter hole dimensions from the agreed installation specification. It estimates volume; it does not determine a safe footing. Where you calculate concrete separately with our concrete calculator, do not add it again if the fence estimate already includes the same holes. Use the product’s stated yield when converting volume into bags.
Plan the work before dismantling the boundary
Agree access, delivery and temporary arrangements for pets or children. Check for buried services before any excavation and obtain competent assistance where needed. A new post location is not safe to dig simply because an old fence was nearby. Confirm how old concrete, timber and soil will be removed and whether the contractor’s price includes it.
Discuss slopes and exposure with the installer. Stepped panels, raked fencing and different infill designs behave differently and can leave different gaps. The calculator cannot choose the appropriate design. Send the sketch and product details when requesting prices, using our repair quote comparison checklist so every contractor is pricing the same arrangement.
Three ordering errors to catch before checkout
- Mixing metres and millimetres: 1.8 m and 1,800 mm describe the same width, but entering 1.8 into a millimetre field does not.
- Counting a spare panel as another installed bay: keep spare purchases separate from structural layout quantities.
- Treating gate width as the gate assembly: account for the specified opening, posts and hardware rather than subtracting a nominal gate size and stopping there.
Frequently asked questions
Can I replace the fence without my neighbour’s agreement?
Establish ownership, boundary position, access rights and any permissions first. This guide cannot decide those matters for your property. If there is a dispute or uncertainty, get appropriate advice before removing or relocating the fence.
Do I always need one more post than panels?
Only for a simple independent run with a post at each end of every bay. Shared corners, retained supports and gates can change the count. Draw the actual layout and distinguish installed posts from spares.
Should I use 1.8 m or 1.83 m panel width?
Use the actual product information. Both descriptions appear in the market, and nominal “six-foot” wording is not enough. Check the installed spacing required by the chosen post system too.
How much waste should I add?
Base it on the layout, cuts, damage risk and desired spares. A percentage rounds to whole panels, so 10% on five panels purchases six. Review the consequence before accepting a default allowance.
Can I reuse the old posts?
Only after their condition, suitability and dimensions have been checked. New panels must fit the existing openings and connections. A post that looks acceptable above ground may still need closer assessment.
How deep should fence posts be?
That depends on the system, height, exposure and ground conditions. Follow the appropriate specification and manufacturer guidance. The calculator accepts dimensions to estimate materials; it does not design the footing.
Does a replacement fence need planning permission?
It depends on location, height and restrictions. The England guidance linked above has exceptions, and other UK nations have their own rules. Check the position before ordering a taller or differently located fence.
What should I keep after installation?
Keep the product details, treatment and maintenance instructions, invoice and any guarantees. Photograph the completed arrangement and add periodic observations to your home maintenance checklist.
Editorial illustrations are AI-generated. Examples are illustrative unless identified as a live calculator check. Guidance reviewed September 2026.