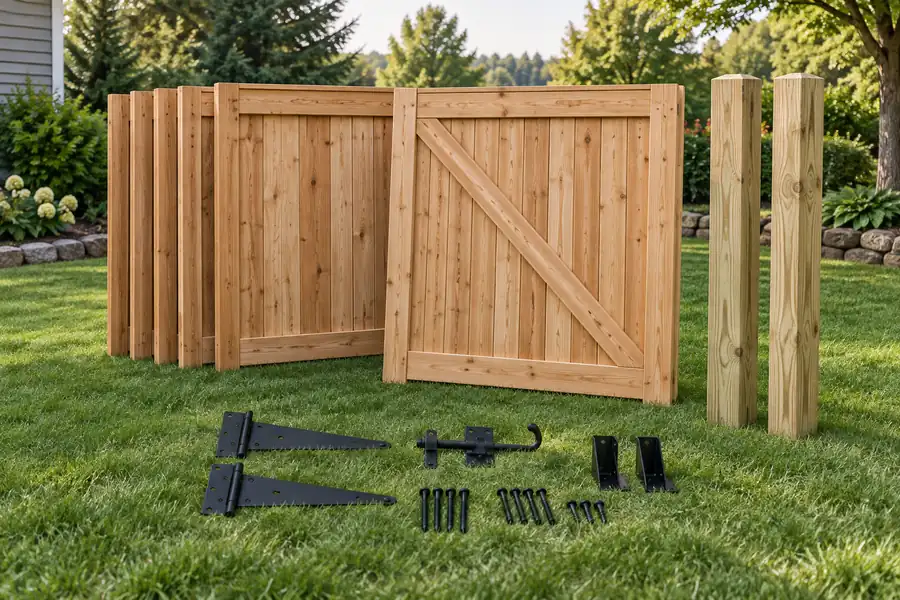
Count fence materials from a drawing of the runs and post positions. A total perimeter alone misses gates, shared corners, cut panels and changes in level. Start with the physical layout, then use the fence material calculator to turn it into quantities and entered costs.
A useful sketch doesn’t need to look architectural. It needs to show where every run starts and ends, which corners share a post, where gates sit and what each dimension measures. Keep boundary and product decisions separate from the arithmetic.
Define the runs before counting panels
A run is the stretch between meaningful endpoints, such as an end post, corner or gate. America’s Fence Store’s layout guidance uses those distinctions to organize a fence drawing. Its component terminology is useful even when you are buying a different fence system.
Label the measuring basis. A clear distance between post faces is not the same as a center-to-center dimension or the overall distance across both end posts. Ask the supplier which dimension its panel or bay coverage uses. Post thickness and brackets can affect the set-out.
For a sloping site, mark the change in level and whether the specified system steps or follows the slope. Don’t assume a flat-ground material calculation has designed those details. Gates also need their intended clear opening and suitable support, not just a decorative mark on the plan.
The simplest count: four bays and five post positions
Take one isolated 24-foot straight run and an illustrative 6-foot bay module. There are 24 ÷ 6 = four bays. The post positions are at 0, 6, 12, 18 and 24 feet, giving five positions.
That familiar “bays plus one” relationship works for this simple open run. It does not mean every new line on a sketch needs another pair of end posts. If a second run shares the same physical corner post, count that post once.
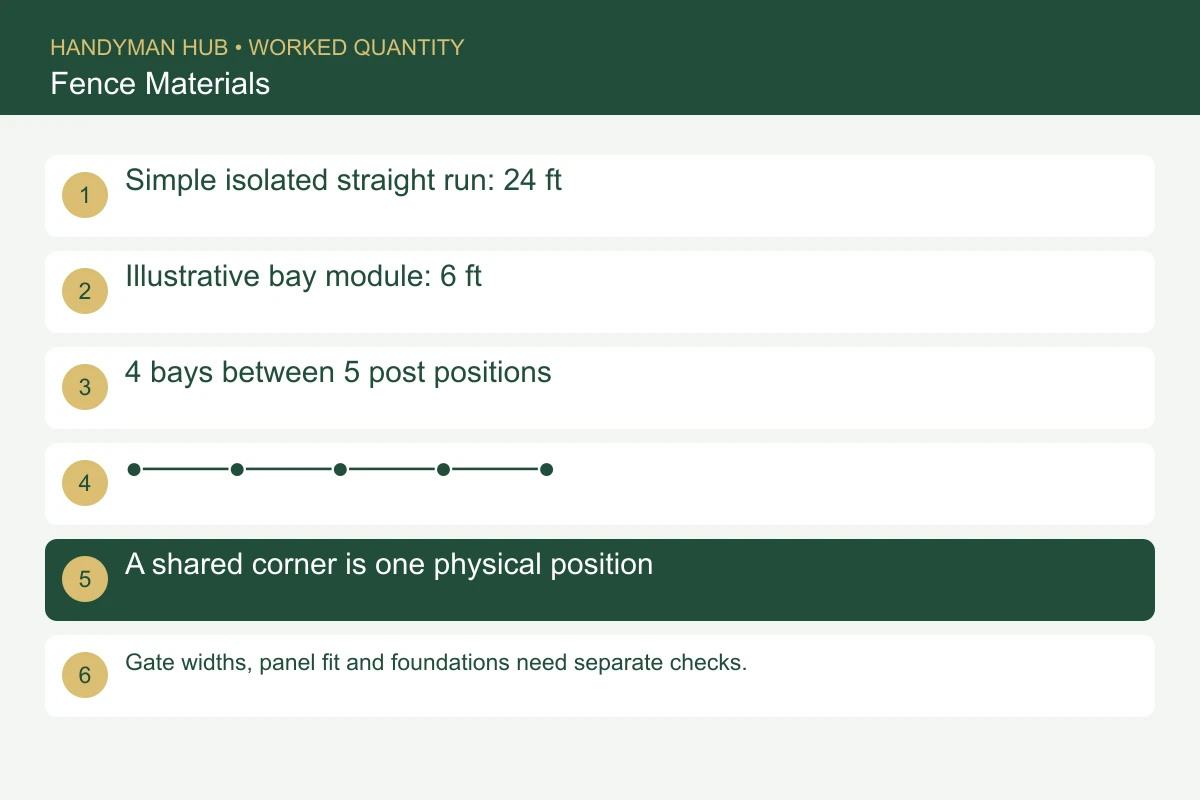
To check the baseline in the tool, choose Imperial, enter a 24-foot run, select panel mode and enter 72 inches as the panel width and 72 inches as its height. Leave gate openings, waste and extra posts at zero. Review the panel and post quantities against the five marked positions before adding other parts.
The 6-foot panel input is a numerical example. Confirm its meaning against the real product’s installed module before ordering. If a panel’s physical width is 6 feet and the system adds post thickness outside that width, an overall 24-foot boundary measurement may not hold four complete panels.
Make gates explicit
Measure each gate opening and confirm the required support arrangement with the gate supplier. Record whether a quoted gate width describes the leaf or the required opening. Hinges, latches and clearances can make those different dimensions.
Use the calculator’s gate opening, total gate width and additional gate-post fields deliberately. Deducting an opening from the cladding length doesn’t design the gate posts or establish where the remaining panels break. Mark the opening on the sketch, then check the posts on each side.
List gate hardware, stops and any separate gate installation cost. A field containing “one gate” with a zero price does not mean the gate is included elsewhere. The same applies to caps and brackets: only count them as supplied when the quote confirms that.
Choose the material mode that matches the fence
Panel mode suits prefabricated panels. Individual-board mode needs board width, gap and finished length, while a bay-based system needs its own coverage. Don’t use a panel width as a substitute for board coverage just because the overall run is the same.
When buying individual boards, compare finished length with usable stock length. Two short pieces might fit one longer board, but trimming and saw kerf can change the practical yield. Our lumber buying guide explains the distinction between a total linear-foot quantity and an actual cut list.
Rails and kickboards need their own lengths and quantities. A four-bay fence with three rails per bay has twelve rail pieces in its schedule; that doesn’t automatically mean twelve purchased boards. Check the stock and joints allowed by the chosen fence specification.
Concrete is a separate takeoff
Post count doesn’t establish hole diameter, depth, embedment or foundation suitability. Those depend on the fence system and site. Obtain the required dimensions before using the optional concrete calculation.
Use the actual assessed hole count rather than assuming it always equals every post in the list. Existing suitable supports or a different mounting arrangement may change the concrete scope. Where the calculation subtracts embedded post volume, check the post shape and dimensions too.
The concrete order guide helps translate a specified volume into bags or a delivery quantity. Before excavating post holes, follow the state-specific 811 process and identify private services that require separate locating.
Review the complete order on the drawing
Mark off panels or board bays, unique posts, gate supports, rails, caps, brackets and fixings. Confirm the boundary location, permissions and any applicable fence requirements separately; a calculator cannot establish a property line or approval.
Then price the actual rounded purchases, delivery, removal of the old fence and labor. A useful quote explains which items are retained and which are replaced. If the fence borders new lawn work, keep its materials separate from the sod order so neither package quietly includes the other’s allowance.
Save the fence estimate with the marked post positions. If you cannot point to where a counted component belongs, review that line before ordering.
Featured image: original concept illustration, not a completed Handyman Hub customer project.