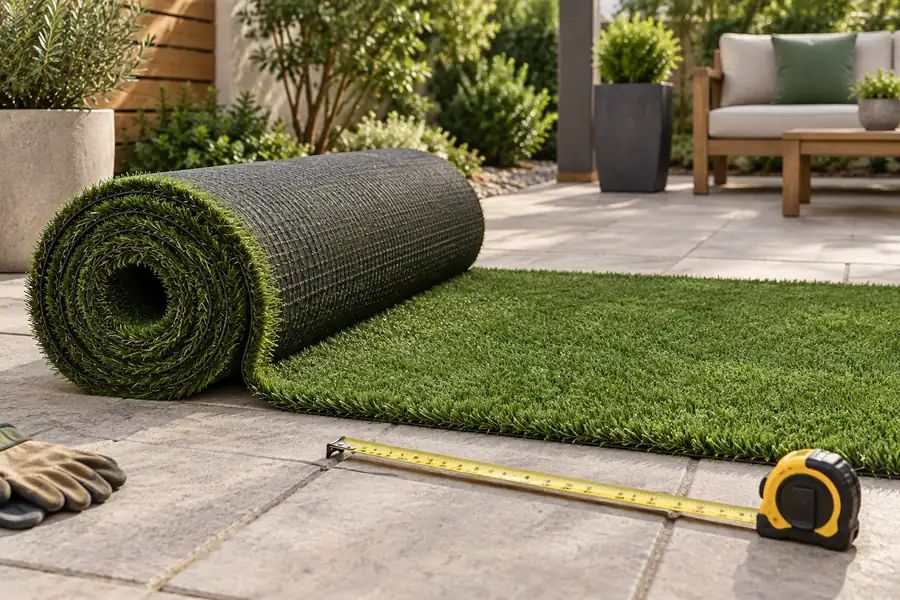
Artificial grass is bought as cuts from fixed-width rolls, not as an exact outline of your lawn. The same garden can require different purchased areas depending on the cut direction and usable roll width. Draw the pieces before comparing a price per square foot.
The artificial grass calculator compares those rectangular layouts. It keeps the net installed area separate from purchased roll coverage, and estimates side seams for the chosen arrangement. It is a cutting and quantity aid, not a drainage or base-design specification.
Measure the bounding rectangle and the exclusions
For each section, measure the full rectangle that the turf cuts must cover. Record its length and width, then separately note permanent exclusions such as a planting bed or post base. Those exclusions reduce the net finished area but may still sit inside a piece you have to buy.
Consider a hole cut from the middle of one large piece. Removing that hole on site does not shorten the original roll cut. You may obtain a reusable remnant, but whether it fits elsewhere depends on its shape, dimensions and pile direction. An area deduction alone cannot describe that reuse plan.
For connected sections, put arrows on the drawing to show the intended pile direction. The words “along length” in two separate rows don’t prove that both pieces point the same way in the garden. Their physical orientation matters.
Two layouts for an 18-by-12-foot lawn
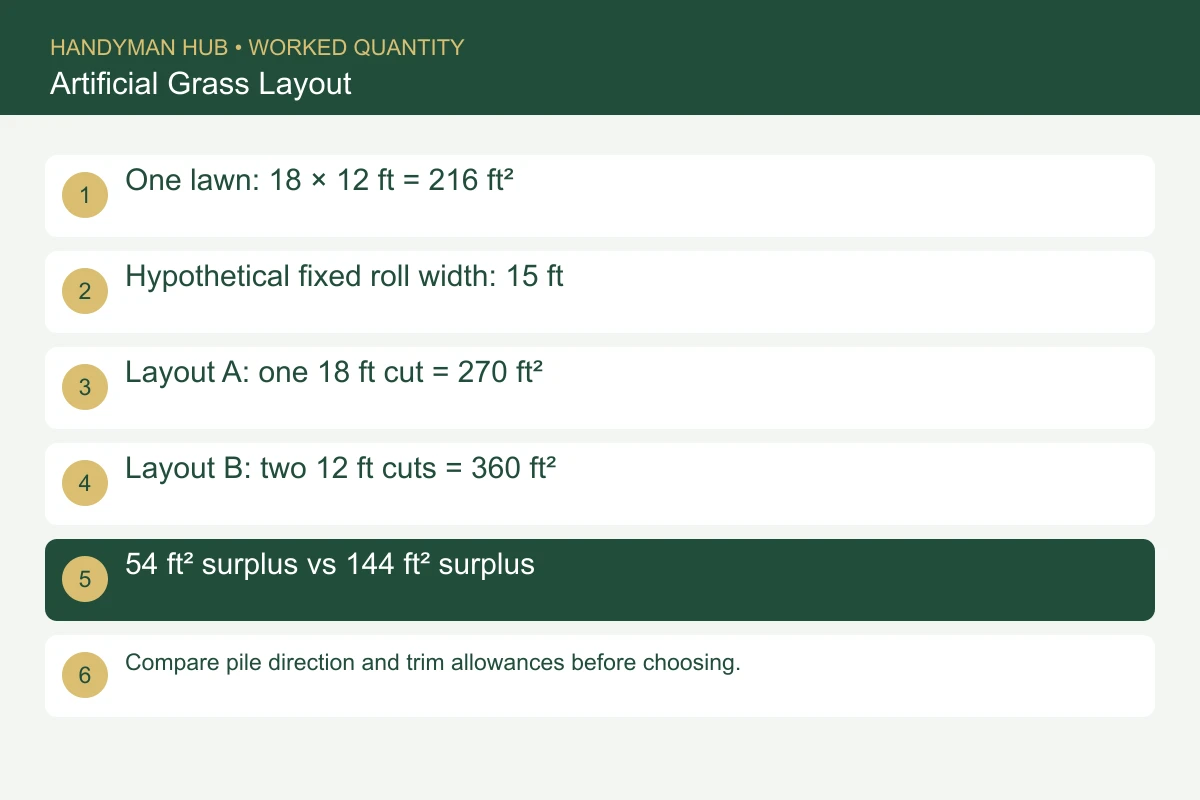
Take an 18-foot-long, 12-foot-wide rectangle: 216 square feet installed. Assume a hypothetical product sold from a 15-foot-wide roll, with full usable width and no trimming allowance for this baseline calculation.
If the cut runs along the 18-foot length, one full-width piece covers the 12-foot width. Buy 18 linear feet × 15 feet = 270 square feet. The difference from the installed area is 54 square feet.
Turn the arrangement through 90 degrees and the strips run along the 12-foot dimension. The 18-foot span now needs two strips, each purchased at the full 15-foot roll width. Two 12-foot cuts purchase 360 square feet. The difference is 144 square feet, and the simple rectangular layout has one 12-foot side seam.
To compare this in the live tool, choose Imperial and enter length 18, width 12, roll width 15 and a 1-foot purchase increment. With no trim or exclusions, compare the selected layout and the alternative. The lower purchased area isn’t automatically the approved layout: pile appearance, adjoining pieces and the supplier’s cutting rules still need checking.
Use usable width, not just nominal roll width
Ask whether the published roll width includes edges that must be trimmed and what the usable installed width will be after preparation. A layout that fits on paper with no room to spare can need an extra strip when the usable width is slightly smaller.
Enter the supplier’s cutting increment and any maximum supplied cut length. A 12.2-foot requirement may be billed as 13 feet if cuts are sold in whole feet. That is different from a one-foot installation margin. Keep the purchase increment and physical trimming allowance as separate inputs.
The example above deliberately uses zero trim so the roll-width effect is easy to see. It isn’t a recommendation to order exact finished dimensions. Confirm the edge and seam allowances for the product, then rerun the layout with those allowances included.
Seams are an installation detail, not just a tape total
Purchase Green’s seam guidance explains the importance of stitch-row spacing, grain direction and the relationship between adjoining edges. That supports checking how the pieces meet rather than assuming two rectangles with enough area will look right.
The calculator’s side-seam total is a starting point for tape and adhesive quantities. Check extra junctions, the actual seam route and any place where it crosses an exclusion. It doesn’t automatically shorten a seam because you entered a hole’s area.
Use the adhesive’s stated coverage for the intended application. A container’s weight alone isn’t a seam-length yield. Keep tape roll rounding, adhesive container rounding and any agreed reserve separate so the order can be checked against the supplier’s installation system.
Separate the turf purchase from the layers beneath it
Base material and infill generally follow the relevant installed area and specified depths or application rates, not the full rectangular area purchased as turf. In the first example, 270 square feet of purchased turf doesn’t mean there are 270 square feet of ground to prepare.
Our gravel quantities guide explains why finished layer volume and delivered weight need matching assumptions. Obtain the base, drainage, edging and infill requirements for your selected turf system before entering those optional quantities.
If excavation is involved, follow the local process through 811 and check private underground services as needed. A material takeoff does not establish that the proposed base or drainage arrangement is suitable for the site.
Compare quotes using the same cut schedule
Send each supplier the measured plan, exclusions, pile-direction arrows and proposed cuts. Ask whether the price covers nominal or usable width, how length is rounded, and whether seam materials and delivery are included. Two equal square-foot prices can produce different totals when the cut schedules differ.
Don’t deduct an offcut from another section until the supplier or installer confirms it is usable with the right direction and edge treatment. Save the roll-layout estimate with that decision recorded. For natural lawn rolls instead, switch to the sod ordering method, where piece coverage and lawn area drive a different calculation.
Featured image: original concept illustration, not a completed Handyman Hub customer project.