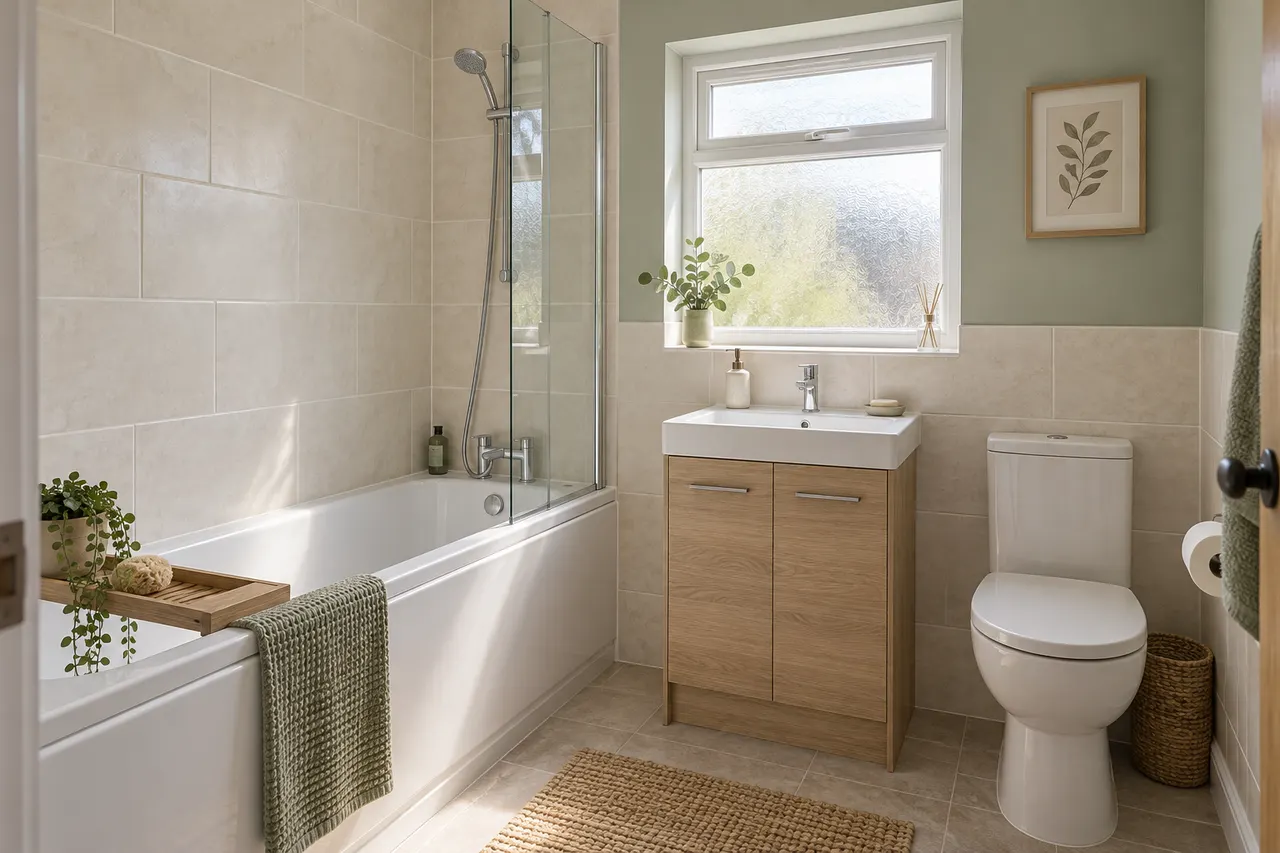
A bathroom can look spacious in a product photograph and feel awkward the moment you open its door. The difference is usually in the details: a basin projects farther than expected, a drawer meets a towel rail, or a shower screen leaves too little room to step through. It is much cheaper to discover those conflicts in a plan than after the fittings arrive.
Before choosing finishes, measure the room, identify the services you hope to keep and decide what the bathroom needs to do. Then use our free 3D bathroom planner to compare layouts. This guide takes you from that first sketch to a brief an installer can price, with UK terminology and separate checks for the work behind the tiles.
Measure the room you have, including the awkward bits
Record internal wall lengths, ceiling height, the door opening and its position along the wall. Measure windows, sill heights, recesses, boxing and anything projecting into the room. Use one consistent unit. Millimetres are convenient for fixture dimensions: a 1.7 m bath is 1,700 mm long, not 170 mm.
Do not assume opposite walls are identical or corners are square. Compare measurements at more than one height where practical, and note visible discrepancies for the installer. Identify whether your dimensions are to existing finishes or to a stripped surface. New boards, waterproofing and tiles can reduce the finished space; a fixture that fits a bare-wall measurement may not fit the finished room.
Record visible service positions separately, including the toilet connection, radiator pipes and existing ventilation. A drawing of a pipe position is not confirmation that it can be moved. The route, floor construction and connections need assessment on site. Keep photographs with the sketch so you can explain what the measurements refer to.
Use the bathroom planner step by step
- Open the bathroom planner and press Start the bathroom planner. The full-screen option gives more room for detailed work.
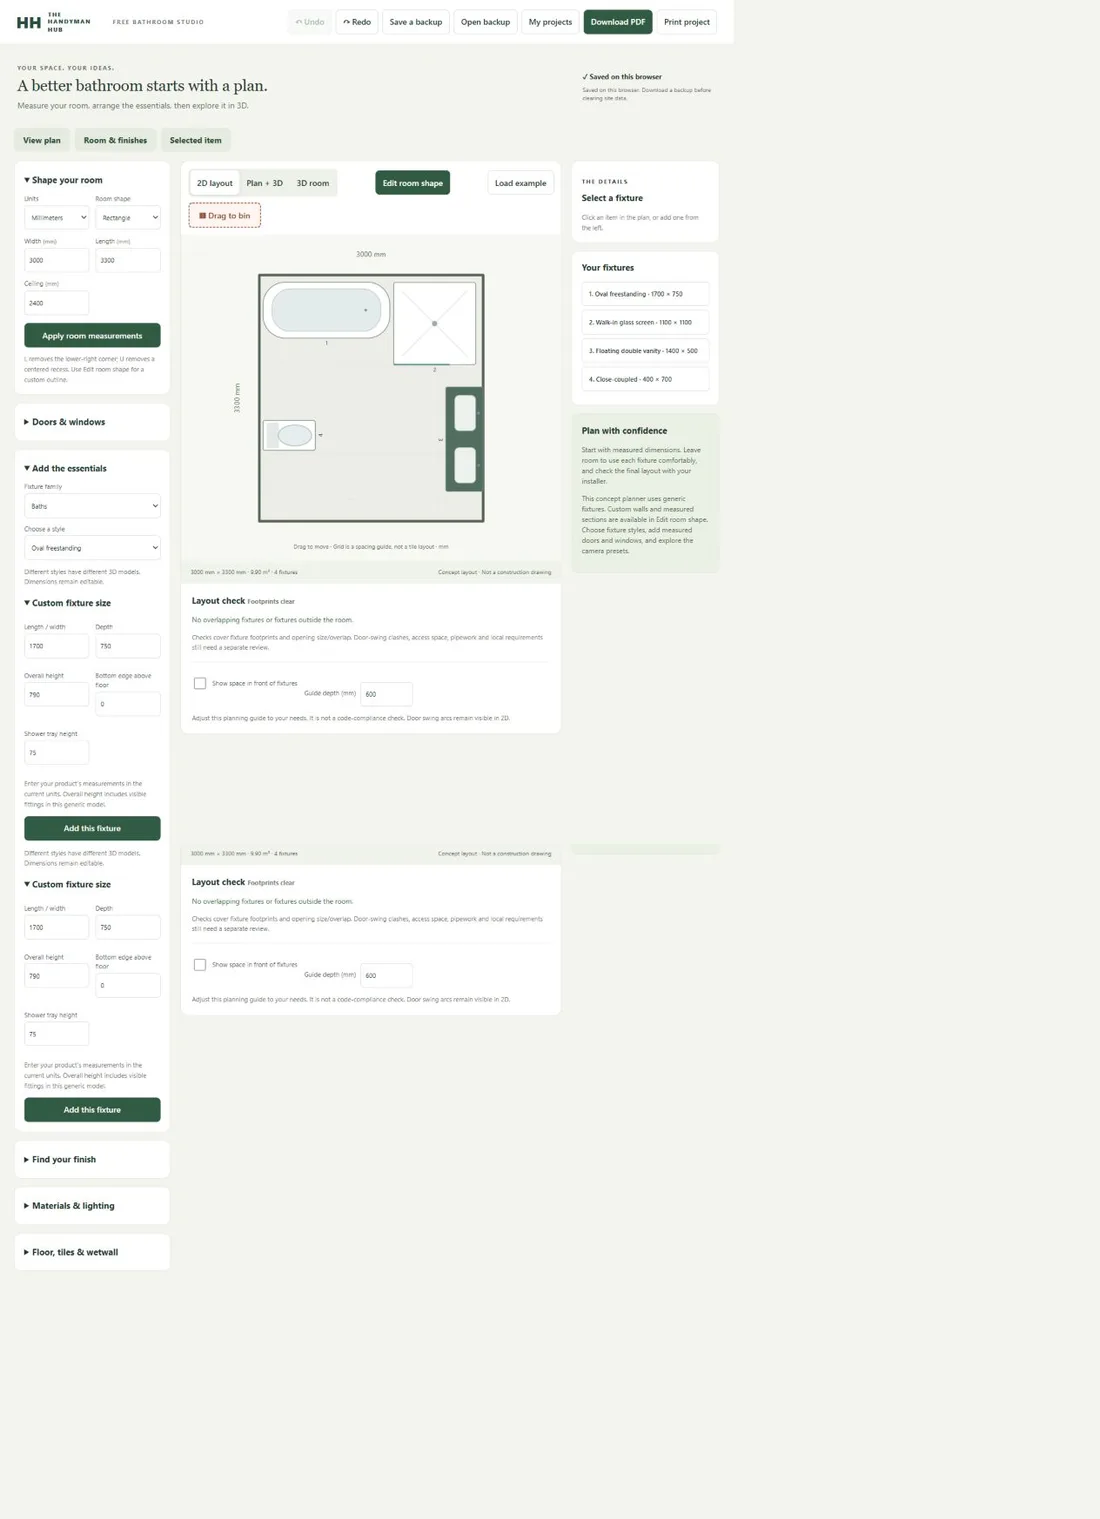
- In Shape your room, choose Millimeters, enter Width, Length and Ceiling, then press Apply room measurements.
- Choose a rectangle, L-shaped or U-shaped preset, or use Edit room shape for a custom outline. Enter measured wall sections and review how the outline closes. Check all sections again after changing one.
- Open Doors & windows. Add openings with their wall, offset and dimensions. Set the door hinge and opening direction so the swing is represented.
- Under Add the essentials, choose a fixture family and style. Enter the supplier’s dimensions in Custom fixture size, then select Add this fixture. Drag and rotate items to try positions.
- Use 2D layout for the measured arrangement and Plan + 3D or 3D room for the appearance. Review the layout warnings, then check door swings and usable space yourself.
- Compare floor tiles, wall tiles, painted walls or wetwall-style panels under the finish controls. The visible finish is a concept, not a product specification or waterproofing design.
- Use Save a backup to download an editable project. Download PDF produces a review document with the plan, three 3D views and fixture details. Keep both: the PDF does not replace the editable backup.
In a live check, entering 2,200 mm by 2,400 mm produced a displayed room area of 5.28 m², matching 2.2 × 2.4. That confirms the example’s room-area arithmetic. It does not confirm that every fixture in the starting example fits that smaller room: changing the room size means the layout needs reviewing again.
Test the way you will use the room
Imagine a normal morning rather than only looking at the overhead picture. Open the door, approach the basin, pull out the vanity drawer and step into the shower. Consider where a towel hangs and whether someone can use the toilet without meeting a cabinet corner. If accessibility or assistance is a requirement, have the arrangement assessed for the actual user rather than relying on a generic clearance guide.
The planner checks fixture footprints and some opening conditions. It does not certify door-swing clearance, plumbing feasibility, waterproofing or building compliance. A green layout message means the model passed those limited checks; it is not permission to order. Take the plan to the installer and ask them to mark anything that needs changing.
| Option | Potential advantage | Question before committing |
|---|---|---|
| Keep the main layout | Fewer proposed service moves. | Are existing connections and backgrounds suitable? |
| Replace bath with shower | May suit how the household uses the room. | Can the drainage, waterproofing and access arrangement work? |
| Use a compact vanity | Adds storage in a smaller footprint. | Will the basin, drawers and pipework fit together? |
| Move the toilet | May free useful space elsewhere. | What route and construction work does the installer require? |
| Choose a wall-hung item | Can create a lighter visual effect. | What support, concealed space and maintenance access are needed? |
Choose actual products before finalising the fit
A generic “600 mm vanity” is not a complete product description. Record its total projection, height, door or drawer opening, tap arrangement and waste position. For a bath, include the panel and access requirements. For a shower enclosure, check the entry opening and the manufacturer’s adjustment range as well as the tray size.
Create a fixture schedule with the exact model, dimensions, finish, supplier and who is ordering it. Add a column for “installer approved” and another for “received and checked”. Do not book irreversible work around an item merely because the website says it is available. Confirm delivery and inspect for damage within the supplier’s reporting period.
Budget for what you cannot see in the finished photograph
Separate the fixture shopping list from the installation scope. Removal, waste, access, background repairs, plumbing, electrical work, ventilation, waterproofing, fitting and decoration all need a place in the discussion. An allowance is not the same as a fixed price: ask what is assumed and how a change will be priced.
| Budget group | Examples to discuss |
|---|---|
| Fixtures and finishes | Bath or tray, enclosure, toilet, vanity, taps, tiles or panels. |
| Preparation | Removal, repairs, suitable boards and floor preparation. |
| Services | Plumbing, electrics, ventilation and heating alterations. |
| Water management | Specified waterproofing system, junctions, seals and drainage. |
| Installation and completion | Fitting, tiling, testing, making good and waste removal. |
| Uncertainty | Agreed approach to concealed damage and changes. |
Here is a budget structure example using invented figures, not typical UK prices. If your chosen products total £2,400, quoted installation is £3,100 and separately quoted preparation is £600, the known total is £6,100. A household reserve of £610 would bring the allocation to £6,710. Confirm tax treatment and that the £600 is not already included in installation before adding it. A 10% reserve is just the arithmetic in this example, not a guarantee that hidden work will fit within it.
Use the UK repair quote comparison guide to send the same scope to each installer. The bathroom planner does not produce a contractor quote or price the chosen fixtures.
Work out tile quantities after deciding which surfaces are tiled
Keep floor and wall finishes separate. A 2.2 m by 2.4 m rectangular floor has a gross area of 5.28 m². If your chosen layout warrants an illustrative 10% allowance, the order area becomes 5.808 m². With a hypothetical pack coverage of 1.2 m², 5.808 ÷ 1.2 = 4.84, so you would buy five whole packs, covering 6 m². Check what is actually tiled and whether that allowance suits the cuts.
For a second example, two shower walls 0.9 m and 1.2 m wide, both tiled 2.1 m high, give (0.9 + 1.2) × 2.1 = 4.41 m² before deductions or additions. An illustrative 10% allowance gives 4.851 m². At 1.2 m² per pack, that needs five packs. Niches, returns, patterned placement and spare tiles need a separate decision; they do not disappear into the floor calculation.
- Open the tile, grout and adhesive calculator and select the units matching your measurements.
- Enter each intended surface and any relevant openings. Keep different tile products in separate calculations.
- Use the actual tile dimensions, pack coverage and chosen waste allowance. Confirm whole-pack rounding against the supplier listing.
- For adhesive and grout, enter the product-specific coverage and relevant tile/joint information. Tile pack area does not determine adhesive suitability or grout consumption by itself.
- Check the result against your measured sketch and the installation specification before ordering.
Waterproofing and electrical work need their own decisions
Tiles and grout should not be treated as the complete waterproofing system. BAL’s waterproofing guide explains the role of a suitable tanking layer and attention to junctions and penetrations. Follow the current instructions for the chosen compatible system; do not mix drying times or coverage figures from different products.
Plan lighting, extraction and any electric shower with a competent electrician before finishes are closed up. Electrical Safety First’s bathroom guidance explains the particular risks in wet rooms and recommends a registered electrician for installation work. Have the relevant requirements and certification confirmed for your location and project. Rules and approval processes are not identical across all UK nations.
Agree the sequence and the handover
Your installer should set the sequence for the actual products and construction. A useful discussion covers removal and inspection, agreed repairs, first-fix services, preparation and waterproofing, finishes, fitting, testing and snagging. Include product curing times rather than assuming every day can be filled with another trade. Ask when the toilet, bath or shower will be unavailable so the household can plan.
At handover, walk through operation and maintenance access, record agreed snags, and collect instructions, guarantees and applicable certificates. Ask when sealants or other finishes can be put into service. Photograph concealed arrangements during the work if the installer agrees; those records may be more useful later than another photograph of the finished tiles.
Frequently asked questions
Can I plan an irregular bathroom?
Yes. The planner supports straight-sided custom outlines and measured wall sections. Check the complete outline after every adjustment. It does not model curved walls, and the finished survey still needs verifying.
Will the planner save across devices?
It saves in the current browser, not automatically to an online account. Download an editable backup and open it on the other device. Clearing site data can remove local projects.
Is a 3D model enough to order a bathroom?
No. Use it to compare and explain ideas. Verify finished dimensions, product specifications, service routes and installation requirements with the supplier and installer.
Should I keep the toilet in the same place?
Keeping it is a useful baseline option because moving it can introduce additional work. Whether a move is sensible depends on the actual drainage and construction, not simply the distance shown in the planner.
How much extra tile should I buy?
Choose the allowance from the layout, cuts, pattern and desired spares. Ten per cent in our examples is illustrative. Check whole-pack rounding and avoid applying the same waste allowance twice.
Can wetwall panels replace waterproofing?
Use the chosen panel system’s installation instructions, including its jointing, sealing and substrate requirements. Do not assume that every panel marketed for bathrooms has the same construction or detailing.
Which mistakes are easiest to avoid early?
Using bare-wall instead of finished dimensions, forgetting door and drawer swings, and ordering fixtures before checking services are three avoidable problems. Keep those checks beside the plan rather than leaving them to memory.
What should I send an installer for a quote?
Send measured existing and proposed layouts, photographs, a product schedule, the work you expect included and any known uncertainties. Ask the installer to verify the proposal on site before you order.
Editorial illustrations are AI-generated. Examples are illustrative unless identified as a live calculator check. Guidance reviewed September 2026.