

A treehouse plan starts with the tree and the intended use. The platform dimensions come after that. A healthy-looking trunk and a sketch of a small cabin do not tell you whether the tree can support the proposed structure, how the supports should move, or what needs inspecting over time.
For an early budget, collect four things: a tree assessment, a project-specific design, a measured quantity list and a quote scope. Keep them separate so a price or a calculated floor area never stands in for a decision that has not been made.
The tree-supported treehouse planner helps organize that information. This guide shows how to use it for a US backyard project, including a checked floor-area example and the items to settle before ordering materials.
Describe who will use the treehouse
Write a short brief before shopping for hardware. Is this a children’s play space, an adult retreat, or an enclosed room intended for longer visits? Record the proposed activities, access method and any services. A request for sleeping accommodation, electricity or public use changes the questions you need to ask the designer and local authority.
Separate essentials from optional features. An enclosed room, a second platform, a bridge and a zip line are different additions to the scope, with different design and inspection needs. Putting them on a wish list does not mean the initial support design includes them. Ask the designer to identify which future changes would require a fresh review.
Get the tree assessed before choosing a support kit
Record each candidate tree’s location and photographs from the ground. Note visible changes, previous work and anything you know about the site. These observations help explain the project; they are not a tree assessment.
Treehouse Supplies’ product FAQ points out that individual trees have different structural and biological characteristics and recommends an arborist for questions about health and suitability. Arrange that assessment before treating any tree as an approved support. Ask how the proposed building work and access routes should protect the tree and its roots.
Keep the assessment reference and date in the planner. Then record the supplied structural design separately. Tree assessment and structural design answer connected questions, but neither document should be assumed to contain the other’s scope. Confirm who is responsible for coordinating them.
Choose the support route explicitly
The planner distinguishes a tree-supported design from a hybrid arrangement using trees and ground supports. A hybrid does not remove the need to understand tree movement or the ground-supported foundations. Ask for the complete arrangement, including its connections and inspection access.
Have the designer specify attachment hardware, support members, movement provisions and growth clearances. Do not select those from the floor area or substitute a generic fastener because it looks similar. The supplier’s treehouse planning overview also recommends checking applicable local requirements before starting. Confirm the requirements for your particular use and location rather than assuming every backyard treehouse is exempt.
If the trees are unsuitable or a tree-supported scheme becomes impractical, compare the freestanding raised playhouse planning guide. That is a different support route, with its own foundation and structural design.
A 12-by-10-foot platform: what the number means
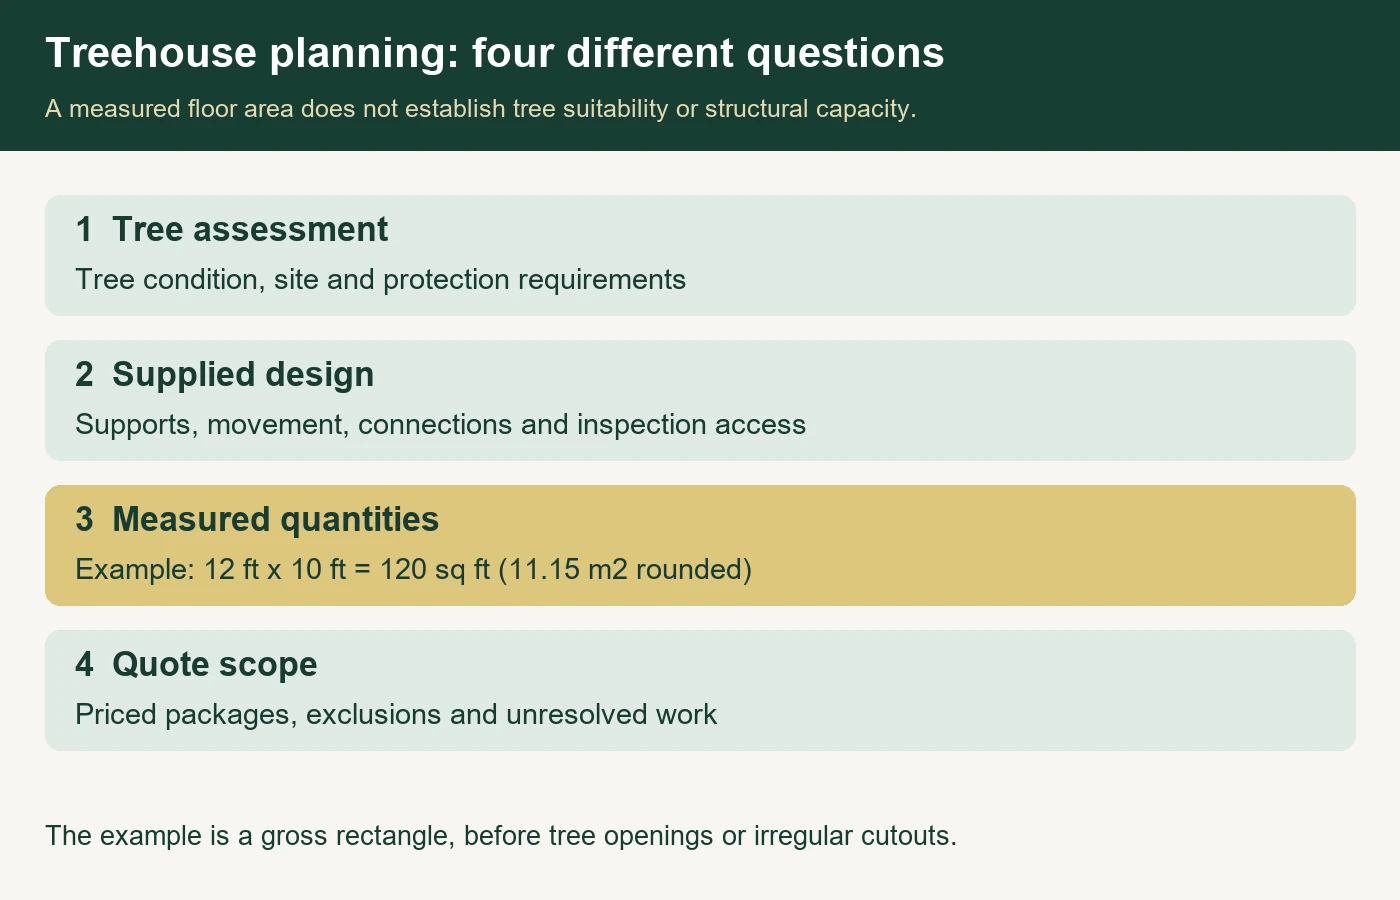
Consider a hypothetical rectangular platform measuring 12 feet by 10 feet. Its gross area is 120 square feet. Its outside perimeter is 44 feet. Those are geometry results only: neither number sets the permitted occupancy, platform height or support arrangement.
Choose Imperial in the planner and enter 144 inches for length and 120 inches for width, with one copy. In the live check, the result was 11.15 m² of platform and 13.41 m of gross perimeter. The tool retains metric area and length summaries even when dimension inputs use inches. The unrounded conversions are 11.1483648 m² and 13.4112 m.
This example is an open rectangle. It does not subtract a tree opening, place the platform around a trunk, or establish a guarding run. Keep irregular edges and openings in the supplied schedule. If a room sits within the platform, its floor is part of that platform rather than an extra area to add on top.
Build the budget around named packages
Use a separate line for assessment and design, tree protection, supports and connections, platform materials, enclosure and roof, access, guarding and fall protection, delivery and labor, and inspection arrangements. Give each package a source: a dated quote, a supplied material schedule or an unresolved scope.
A kit price needs an inclusion list. Check whether screws, freight, specialist installation, finishing materials and access components are included. When one quote covers several packages, record that relationship so you do not buy the contents twice. A missing quote stays unresolved; it does not become a zero-dollar task.
The example initially showed a $0 known-price total alongside unresolved work. That means no costs had been entered. It is not an estimate that the project can be completed free of charge. Read the outstanding-items list whenever you compare scenarios.
Plan access, fall protection and maintenance together
Access affects the space below and beside the platform as well as the structure itself. Ask the designer to coordinate stairs or ladders, landings, barriers and openings with the intended users. A perimeter calculation cannot decide those details.
For children’s play equipment, bring the CPSC Outdoor Home Playground Safety Handbook to that discussion. It addresses protective surfacing, falls, entrapment and maintenance. Grass and dirt are not protective playground surfacing. A treehouse concept illustration is not evidence that its access, barriers or ground treatment are suitable for a real installation.
Ask for an inspection and maintenance plan at handover: who checks the tree, who checks the structure, which changes require attention, and when access should be stopped pending review. Keep the current instructions with the project file, rather than relying on memory after the build.
Turn the agreed design into a purchasing list
Once the design is supplied, enter its material specifications and cut lengths. The lumber purchasing calculator can help compare stock lengths for a separately listed component. Avoid duplicating timber already counted in the treehouse planner.
For platform boards, the decking board direction guide explains why equal floor areas can require different stock purchases. It does not establish the support design beneath those boards.
Before sending a quotation request, include the current drawing revision, assessment references, material list and unresolved questions. Recalculate after edits, then export the current pack. The useful result is a clear document that a supplier or specialist can respond to.


[…] supported entirely from the ground belongs in this planner. If a tree carries part of it, use the tree-supported treehouse planning guide and the matching planner instead. Do not label a hybrid arrangement freestanding just because it […]