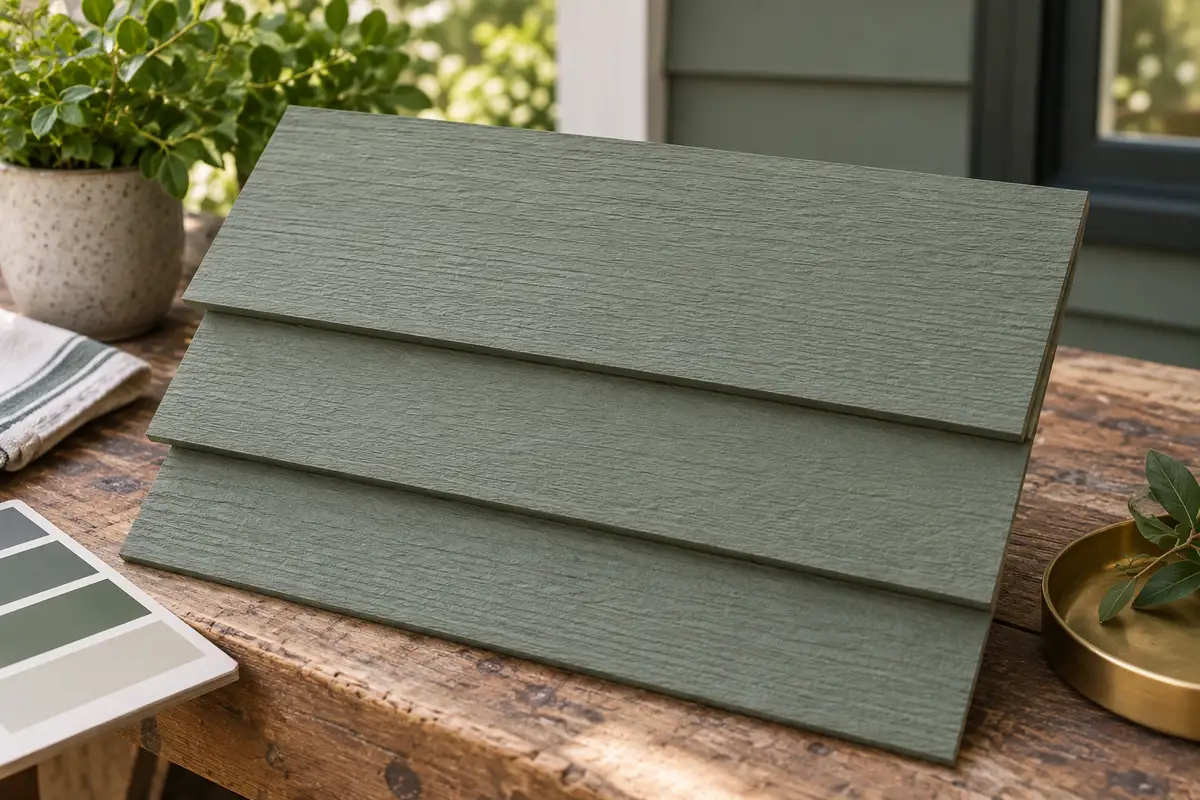
To estimate siding, divide the area you need to cover by the coverage each board or pack provides after installation. The key word is coverage. With lap siding, part of the board sits behind the next course, so its full physical width isn’t all visible on the wall.
The external cladding calculator uses that fitted coverage. “Cladding” is the broader term used in the tool; this guide focuses on preparing a siding quantity order. The result gives you a materials baseline to check against the course layout, rather than a promise that every offcut will find a home.
Measure elevations individually
Sketch each wall face and label its width and height. Keep a triangular gable separate from the rectangular wall below it, or use clearly separated entries for each shape. A triangle needs its perpendicular rise, not the sloping length of its side.
Record windows and doors on the same sketch. The net area is the gross face less the openings that won’t receive siding. Recessed returns, decorative areas and changes of material need their own decisions; don’t assume every visible wall surface uses the same board.
It helps to keep two totals: gross elevation area and net clad area. Siding may follow the net figure, while a separately specified membrane order may use a different basis around openings. Reusing one number for every layer can hide both omissions and unnecessary deductions.
Turn fitted width into coverage
Suppose an example board is 12 feet long and provides 6 inches of fitted cover. Six inches is half a foot, so each board covers 12 × 0.5 = 6 square feet. Use 6 inches in the calculator’s effective cover field when Imperial is selected; the stock-length field uses feet.
A board could be wider than that overall because of its overlap or interlocking detail. Don’t replace the fitted 6-inch figure with the widest dimension measured across the uninstalled board. That would make each board appear to cover more wall than it does.
James Hardie’s lap-siding guidance is an example of product-specific installation information. Confirm the approved exposure, clearances and joint treatment for the selected product and location. A preferred visual appearance isn’t permission to change its installation requirements.
A small elevation, worked through
Imagine a 20-foot-wide wall, 8 feet high, with 20 square feet of openings. The gross area is 160 square feet. Deduct the openings to get 140 square feet of net siding.
For this arithmetic example, add a 10% cutting and spare allowance: 140 × 1.10 = 154 square feet. Divide by the 6 square feet covered by each example board: 154 ÷ 6 = 25.67. Rounded up, the area-based order is 26 boards.
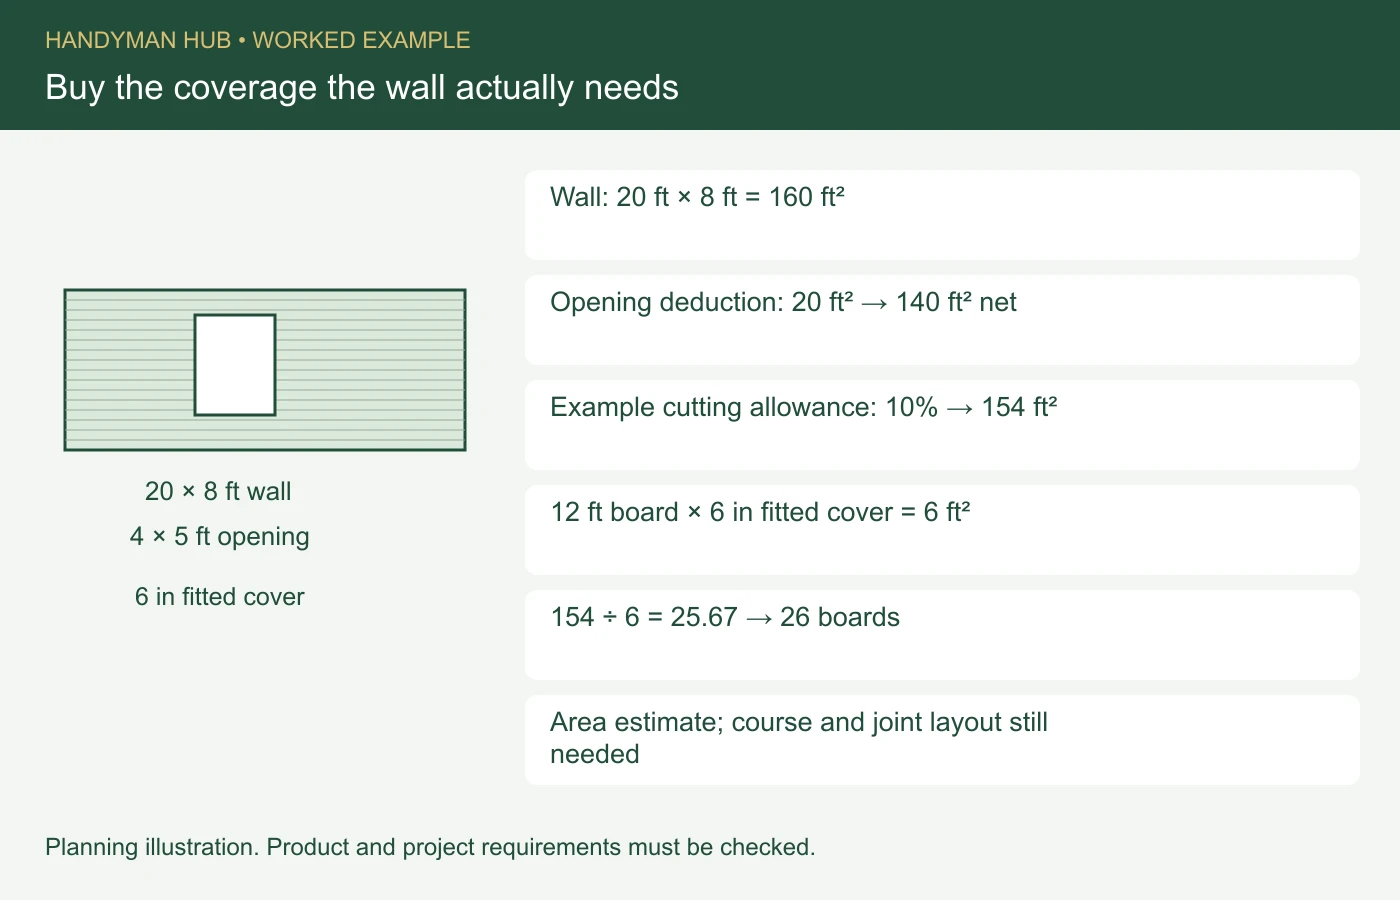
The live calculator reproduces those figures with Imperial units, a rectangular elevation 20 by 8, a deduction of 20 square feet, 12-foot stock and 6-inch effective cover. Its 26-board result is a useful purchase baseline. The 10% allowance is illustrative; choose yours after looking at the actual cuts, pattern and repair-stock needs.
Why the area answer still needs a layout
A window removes wall area, but the boards around it still need to be cut from stock. A narrow offcut may be too short for another course or may put a joint where the installation doesn’t allow one. Subtracting every opening and assuming all remaining fragments fit perfectly is optimistic.
Draw a few representative courses, especially above and below windows. Check how the selected stock lengths meet the wall width and where joints can land. On gables, look at the angled cuts near the edges. These checks give the allowance a reason instead of making it a habitual percentage.
The calculator doesn’t generate a course-by-course cutting plan. It also doesn’t decide joint support, pattern alignment or usable offcut lengths. If the layout shows the area estimate is too low, revise the allowance or build a detailed board schedule before buying. The stock-length and cut-list guide explains the same distinction between total material and useful pieces.
Don’t lose the trim and support order
Keep starter profiles, corner pieces and opening trims on separate measured lines. A window’s perimeter may be relevant to its trim, while its area is deducted from the siding. Those are different measurements doing different jobs.
If the assembly calls for support battens or counter-battens, use the specified arrangement. A bounding-rectangle grid can help estimate a simple support quantity, but it doesn’t design the framing around openings or every gable edge. Use measured support lengths where the actual plan is more complicated.
Membranes and fixings also need their own product information. Avoid transferring a fastener rate or a ventilation detail from a different siding material. The manufacturer’s technical-document library, or the equivalent for your chosen brand, is the place to check those details.
Order by product, profile and color
Keep different profiles and colors separate even if they have similar coverage. An extra pack of one finish doesn’t solve a shortage of another. Ask the supplier about pack quantities, availability, matching accessories and the return policy before treating surplus as recoverable money.
Coordinate the top of the wall with the fascia and soffit quantities, and keep any insulation purchase tied to the specified wall assembly. Then save the siding estimate with your elevation sketch and cutting notes. That combination is much more useful at the supplier counter than a square-foot total on its own.
Featured image: original concept illustration, not a completed Handyman Hub customer project.