When ordering EPDM, ask for a sheet with the right width and length. “I need 216 square feet” is not enough information. A sheet can contain that much material and still be too narrow to reach the edges of your roof.
Start with the measured roof surface, add the membrane needed for each edge detail, then check the sizes your supplier actually sells. The EPDM sheet and materials calculator keeps those steps separate. That makes it easier to spot a short sheet before it arrives rolled up on the driveway.
Measure where the membrane will go
Make a simple plan of the deck and name the four edges. One may meet a wall; another may drain into a gutter. They can need different extensions. Write the required developed membrane length beyond each deck edge, including the specified rise, return or termination detail where applicable.
An upstand’s height isn’t always the whole extension. Equally, a generic extra percentage doesn’t guarantee that the sheet will reach any particular edge. Ask the system supplier to confirm the membrane path and dimensions for the actual detail. Use the surface measurement required by that detail, rather than an undersized horizontal projection.
A rooflight illustrates why area alone can mislead. Its opening may reduce the deck area being bonded, but cutting a hole in the middle doesn’t make the enclosing sheet shorter or narrower. The opening’s upstand, corners and flashing also need attention. Keep the hole deduction and its detail materials as separate entries.
Follow an 18-by-12-foot example
Suppose a rectangular roof surface measures 18 by 12 feet. Its gross deck area is 216 square feet. For this example only, assume the approved details need an additional 6 inches of membrane beyond each of the four edges.
The required length becomes 18 + 0.5 + 0.5 = 19 feet. The width becomes 12 + 0.5 + 0.5 = 13 feet. You need a sheet enclosing 247 square feet, even though the deck itself is still 216 square feet. The extra 31 square feet has a defined purpose; it isn’t a guessed waste percentage.
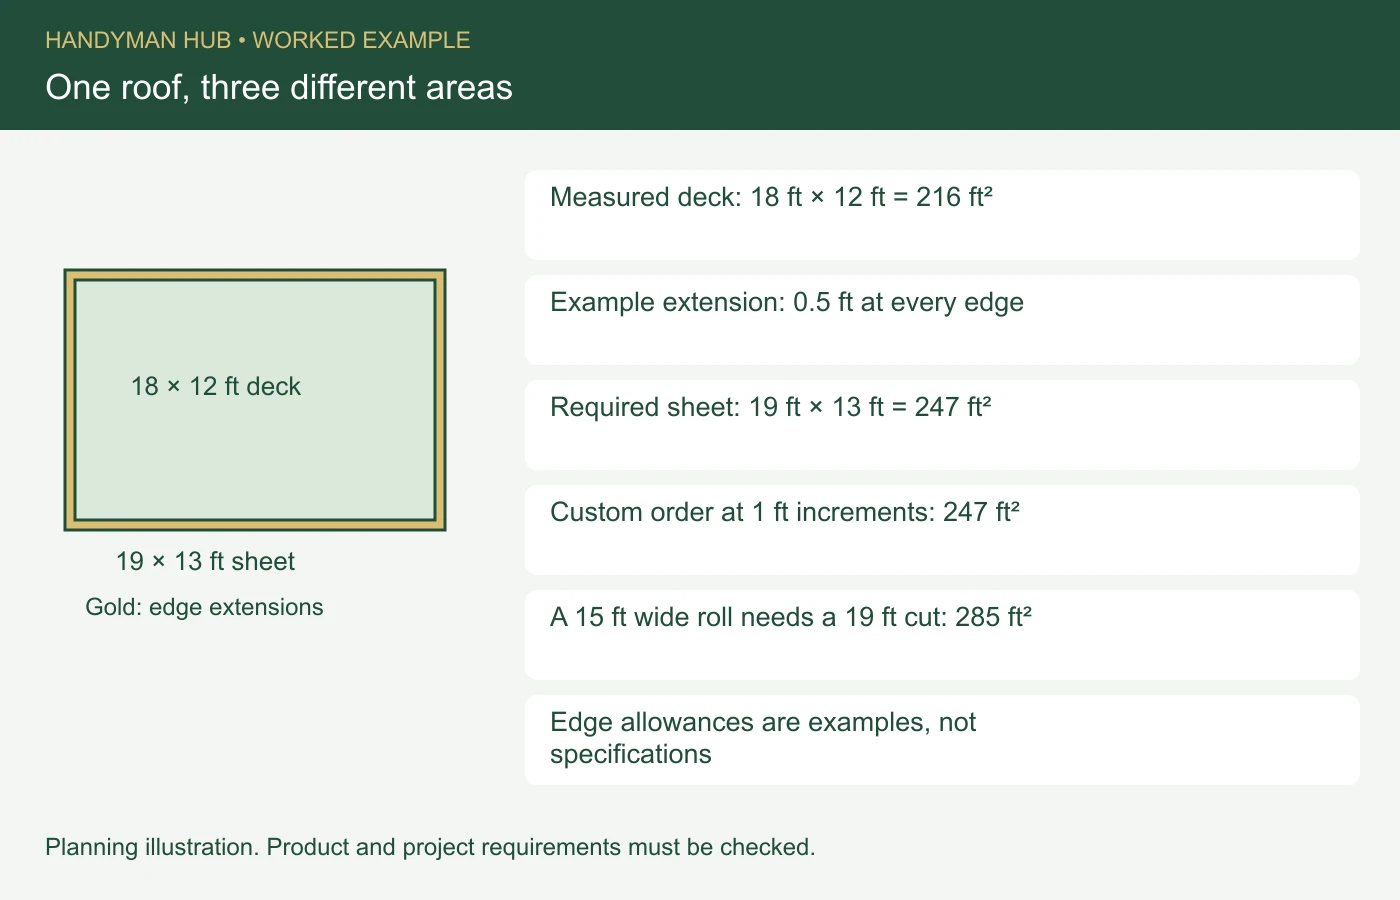
In the calculator, select Imperial and enter deck length 18 and width 12. Open the edge-extension section and enter 0.5 in each edge field; these fields are in feet, so entering 6 would add six feet. In Custom sheet mode, a hypothetical supplier increment of 1 foot produces a 13-by-19-foot order. The live result confirms 216 square feet of deck and 247 square feet of sheet.
Compare the actual sheet sizes on offer
A supplier selling cuts from a 15-foot-wide roll would supply a 19-foot cut for this example, giving 285 square feet of purchased membrane. A 13-by-19-foot custom sheet uses less purchased area, but it may have a different rate or availability. Compare the total delivered order, not just the advertised price per square foot.
Check maximum cut length, handling weight and whether the proposed orientation is suitable. A bigger sheet may reduce seams while being harder to move and position. Those practical questions belong in the supplier conversation before you choose a format.
Don’t split an L-shaped continuous roof into two calculator rectangles and assume that creates an approved joint. Each row represents a separate one-piece sheet. A seam plan needs its own compatible materials and details. The Carlisle EPDM field-guide page is a manufacturer resource for its systems; use the instructions for the system you’re actually buying rather than transferring details between products.
Adhesive follows the bond area, not the invoice area
The 285 square feet on a roll-width invoice isn’t automatically the area receiving adhesive. Some membrane becomes trimming surplus. Some edge material follows a separate bonding detail. Start with the actual net deck bond area, then identify any area assigned to a different adhesive.
The calculator lets you separate field adhesive from contact/detail adhesive. A deck portion assigned to the latter is removed from the former, helping avoid counting the same area twice. Additional upstand or detail bond area is entered separately. Primer has its own treatment area too.
Read what a coverage rate describes. It might refer to coating one face, or to completing a bond that requires application to two faces. Enter the finished bond coverage per container for the actual method. Carlisle’s estimator resources provide product-specific data; the right figure depends on the named adhesive and substrate. Don’t double or halve it without checking that basis.
Turn the sheet estimate into a complete order
Walk around the sketch and list each edge treatment: drip trim, raised edge, wall termination and any other specified detail. Then count corners, penetrations and outlets. A perimeter total doesn’t tell you which accessory belongs on which edge, and an outlet count doesn’t size the roof drainage.
Check what a kit already contains before adding more adhesive or tape. A kit with enough membrane may still need extra detail components for your roof. Conversely, buying every component separately can duplicate things included in the kit. Write “included” beside those items rather than silently removing them from the checklist.
Keep separately specified insulation quantities and vapor-control membrane quantities with the wider roof estimate. Those layers need a compatible roof design; this sheet-sizing exercise doesn’t choose it.
Before paying, send the supplier the deck sketch, four edge extensions, desired sheet dimensions and component list. Ask for confirmation in dimensions, not just area. Then save the EPDM calculation with that confirmation so the delivery can be checked against a clear order.
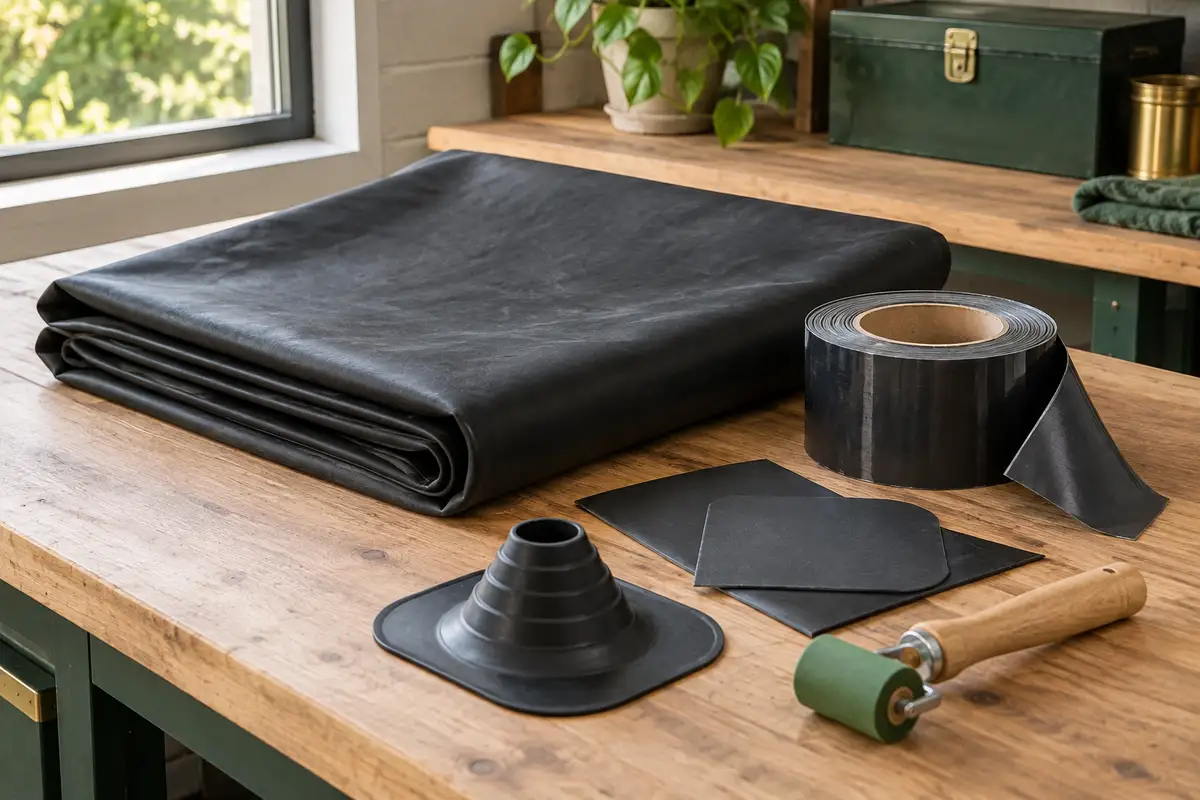
Featured image: original concept illustration, not a completed Handyman Hub customer project.