

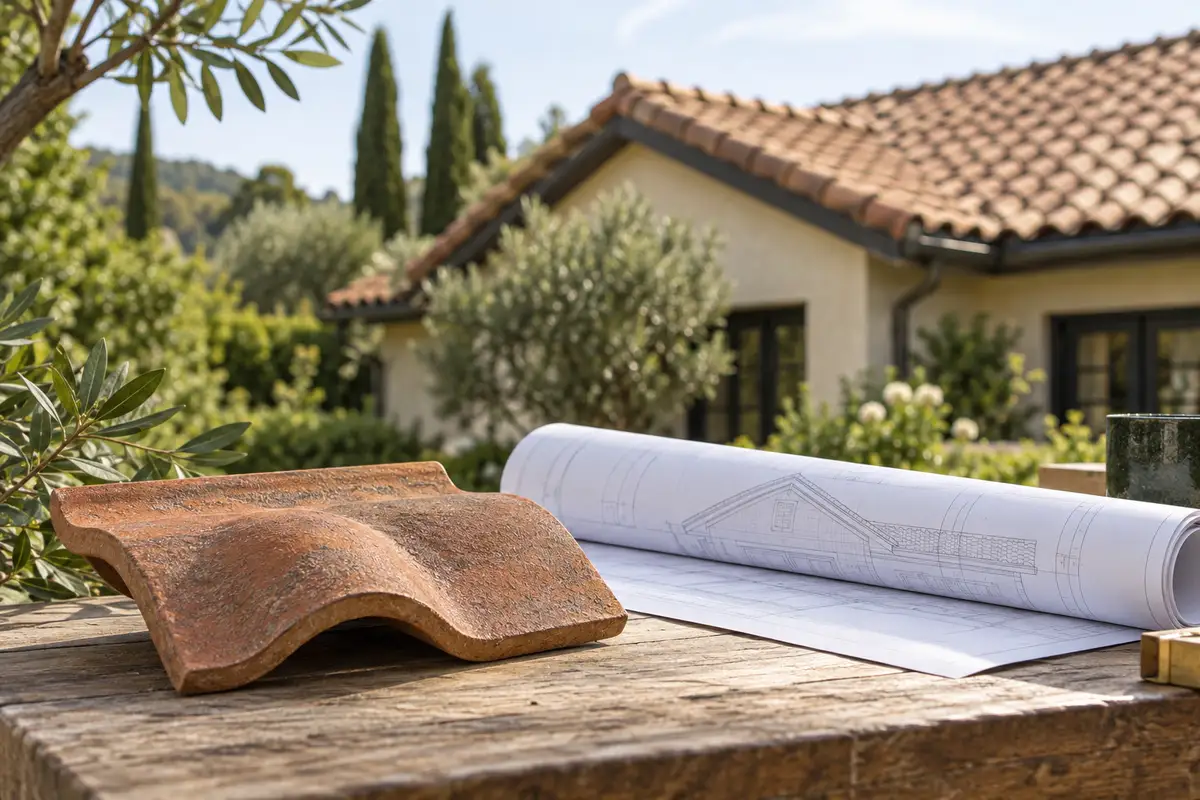
A roof that measures 600 square feet on a plan can need considerably more than 600 square feet of tiles. The plan shows the footprint. The tiles cover the slopes. Get that distinction right before looking at pallets, discounts or delivery charges.
This guide helps you turn a measured, specified tile roof into a shopping list. The roofing materials calculator handles the geometry and quantities; your roofer and chosen tile system determine the assembly, fixings and details. It is a tile-and-slate estimator, so don’t use its output as an asphalt-shingle bundle order.
Put the measurements on one roof sketch
Draw each roof section and label the dimensions you actually have. A building width, a horizontal run and a measured sloping length are three different things. Write the measurement type beside the number so nobody has to guess later.
For a simple gable, the building width spans both slopes. The horizontal run of one symmetrical slope is half that width. A lean-to has one slope, so its horizontal run isn’t halved. The calculator offers separate roof types for that reason. Use its custom measured-slope option when your reliable measurement already follows the roof surface.
Keep overhangs explicit. If your dimensions already extend to the outside roof edges, adding the same overhang again inflates the area. If they’re wall-to-wall dimensions, the roof edges may extend beyond them. Mark where each measurement starts and stops, then use the overhang fields only for the extra dimensions required.
Use suitable drawings or a professional survey for measurements you cannot obtain safely. A shopping calculation isn’t a reason to climb onto a roof. Dormers, intersecting pitches and valleys deserve their own measured sections; a simple rectangular roof selection won’t describe every junction.
A 600-square-foot footprint becomes 692.82 square feet
Take a simple symmetrical gable with a 30-foot length, 20-foot width and 30-degree pitch. For this example, those dimensions describe the roof footprint and no additional overhang is added. Each horizontal run is 10 feet. Its sloping length is 10 ÷ cos(30°), or about 11.55 feet.
There are two slopes, so the area is 30 × 11.547 × 2 = approximately 692.82 square feet. That is about 15.5% more surface than the 600-square-foot footprint. The difference comes from geometry; it isn’t a waste allowance.
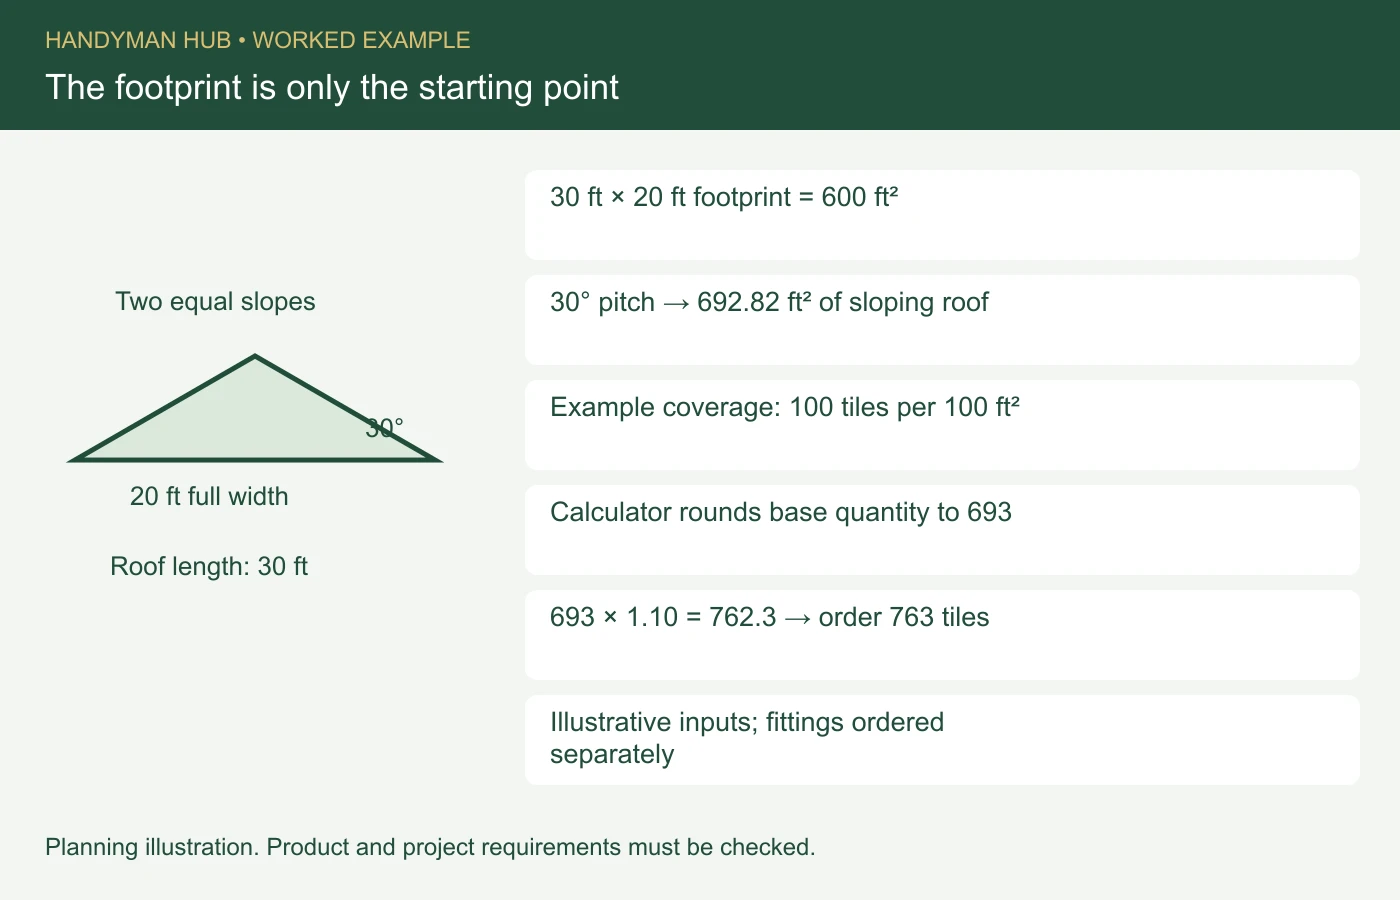
Now suppose a hypothetical tile needs 100 pieces per 100 square feet at its specified exposure. The live calculator rounds the base covering requirement up to 693 tiles. With an illustrative 10% allowance, it calculates 693 × 1.10 = 762.3 and rounds again to 763 tiles. This rounding sequence matters if you’re checking the answer on a separate spreadsheet.
To reproduce it, choose Imperial, Simple Gable Roof, length 30, width 20 and pitch 30 degrees. Enter the coverage as 100 per 100 ft², not 100 per square foot. Set the covering allowance to 10%. The figure of 763 is an example order for those inputs, not a coverage rate or waste recommendation for your tile.
Read the coverage figure before comparing tile prices
A tile’s physical dimensions don’t necessarily describe the area it covers once neighboring courses overlap. Use the manufacturer’s installed coverage or tiles-per-area figure for the selected profile and exposure. If a merchant sells by the pallet, find both the tile count per pallet and the installed coverage represented by that count.
Ask whether the quotation is for field tiles only. A low price per square can look attractive while leaving out ridge, hip or starter pieces. Roofers use “square” to mean 100 square feet of roofing area; confirm that basis when comparing a quote with the calculator’s square-foot total.
The Tile Roofing Industry Alliance’s installation guides distinguish regional and roof-system requirements. Use the applicable guide together with your tile manufacturer’s instructions. A coverage estimate cannot establish whether the structure, underlayment or attachment specification is suitable.
Keep the edge pieces and hidden layers on their own lines
For the example gable, the ridge is 30 feet long. That doesn’t tell you how many ridge pieces to buy until you know each piece’s effective coverage. The calculator has fitting coverage inputs, but their starting values are editable examples. Replace them before relying on any fitting count in the results.
Battens need the specified gauge, lengths and allowances. Underlayment needs its usable coverage after the relevant laps. Do not assume that every tile assembly uses the same battens or that the printed area of an underlayment roll equals its installed coverage. Disable an optional item while its specification is unresolved; label it “to confirm” on your quote checklist.
Waste also has more than one cause. Valley cuts, breakage, handling and a deliberate repair reserve aren’t identical. Discuss the allowance with the supplier or installer for the actual roof shape. If the supplier has already included a cutting allowance, avoid adding it again simply because a second form offers a waste box.
Make the quotation easy to check
Send the supplier your roof sketch, selected tile reference, measured slope area, field-tile quantity and separate fitting list. Ask them to confirm pack rounding, special pieces, delivery access and the treatment of unused stock. Keep the written answer with the estimate.
The gutter materials guide and fascia and soffit guide cover neighboring purchases without mixing them into the tile count. Once your product details are confirmed, rerun the roofing estimate and save the breakdown. A useful order explains both the number and what that number includes.
Featured image: original concept illustration, not a completed Handyman Hub customer project.


[…] Roof Tile Quantities […]