A damaged kitchen worktop can be frustrating, especially when the rest of the kitchen is in good condition. The useful question is not simply whether a mark can be filled. First decide what caused it, what the worktop is made from and whether the damage is local and cosmetic.
Want to learn the complete cosmetic repair process?
Surface Defect Masters covers preparation, filling, colour matching and finishing across worktops, baths, tiles, UPVC, doors, sinks and other decorative hard surfaces.
A massive discounted relaunch offer is now live.
Start with the worktop material
The repair method depends on the substrate and the visible finish. A laminate worktop has a printed decorative layer over a core. A solid-surface worktop can often be sanded and blended differently. Natural stone, engineered stone and quartz need product-specific advice, while timber may need filling, sanding and a compatible oil or lacquer.
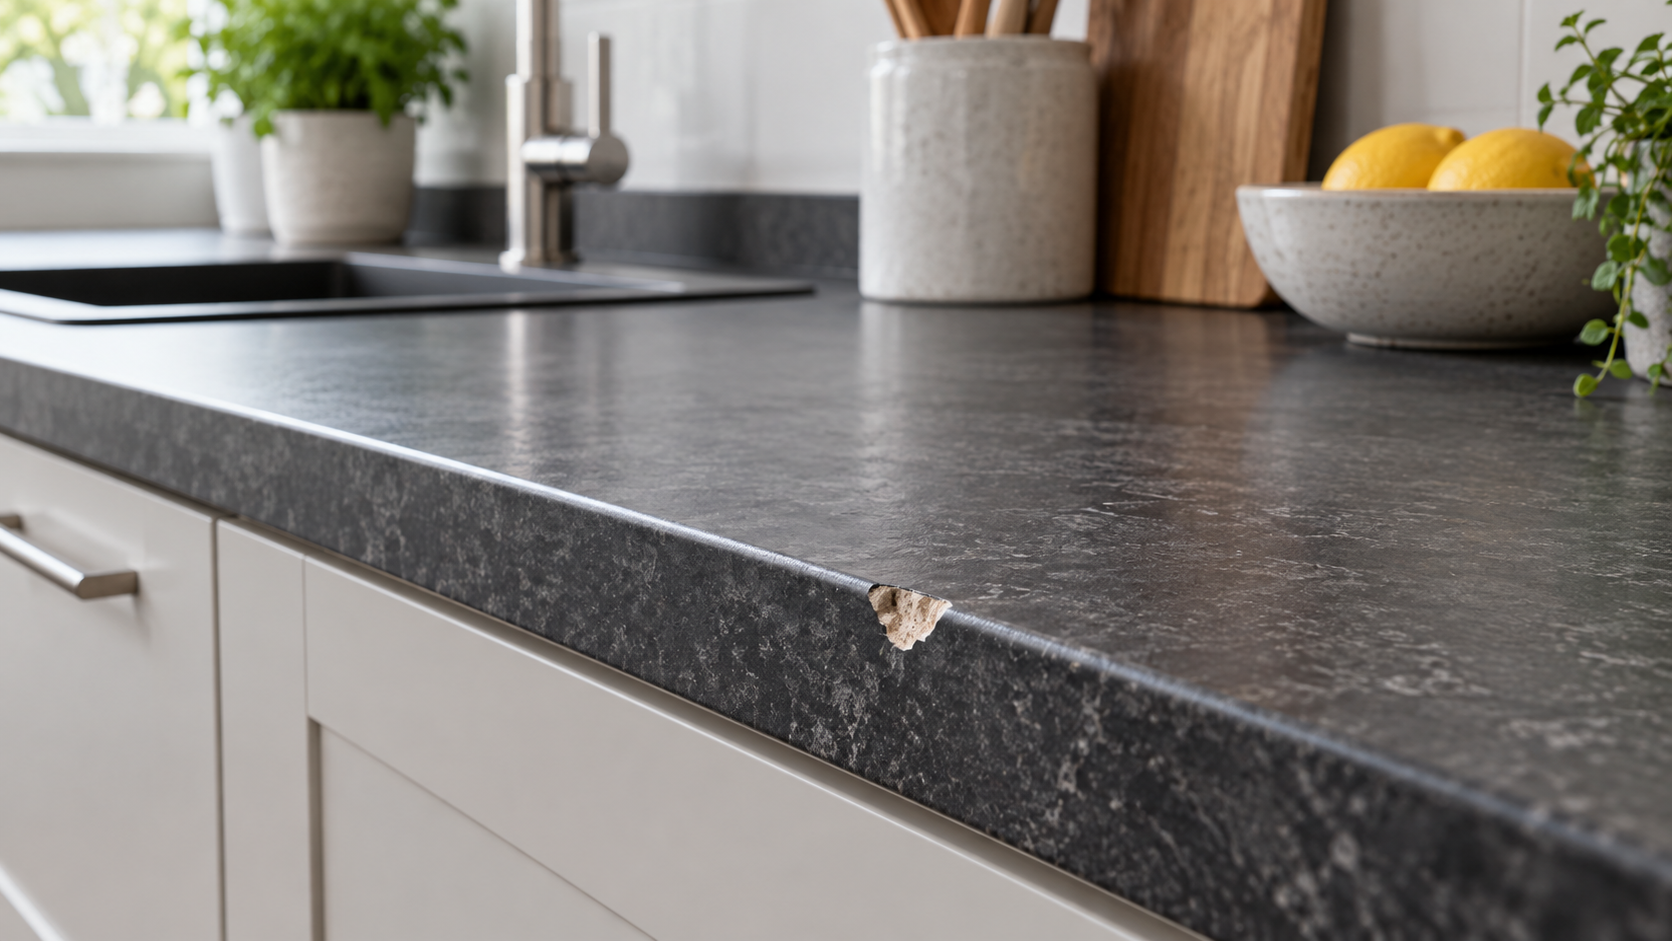
- Laminate: suitable kits can fill a small chip and recreate a close colour, but deep damage may expose the dark core and remain visible at the edge.
- Solid surface: local marks may be blended with controlled abrasion and compatible repair materials, following the manufacturer’s care guidance.
- Timber: dents and scratches can sometimes be filled and refinished, but the repair may need to follow the grain and the existing oil or lacquer system.
- Stone and engineered stone: chips can require specialist resin, colour work and polishing. Do not assume a general-purpose filler is suitable.
If you cannot identify the surface, check the original supplier information or test any cleaner and repair material in an inconspicuous place first.
Want to see the complete process demonstrated? If you are in doubt about any instruction or would benefit from a visual walkthrough, check out the full Surface Defect Masters course HERE.
When a worktop mark is not a cosmetic repair job
Stop before applying filler if the worktop moves, has lifted from its cabinets, has a failed joint, shows swelling around a sink or hob, or has water entering the substrate. Those conditions point to an installation or support problem. A cosmetic patch may hide the symptom while the underlying damage continues.
Be especially careful around sink cut-outs, appliance openings and butt joints. A crack that follows a joint or changes when the worktop is pressed should be assessed before any cosmetic treatment. Do not describe a cosmetic repair as a waterproofing solution for a leaking worktop.
Tools and materials for a small local repair
A modest repair may need:
- A repair compound designed for the worktop substrate
- Manufacturer-approved cleaner or degreaser
- Masking tape and lint-free cloths
- A small mixing card, spatula or applicator
- Fine abrasive papers or pads recommended by the product system
- Colourants, tint or a compatible topcoat where required
- Gloves, eye protection and ventilation suitable for the product
Read the product data before mixing anything. Pot life, ratios, cure times and compatible finishes vary. UK readers can review HSE COSHH guidance; readers in the United States should check relevant OSHA construction safety guidance.
How to repair a small chip in a laminate worktop
1. Clean and map the damage
Remove grease, polish, food residue and loose fragments. Clean beyond the visible mark and let the surface dry. Use side lighting to find the full edge of the chip. Do not widen the defect just to make it easier to fill.
2. Protect the surrounding finish
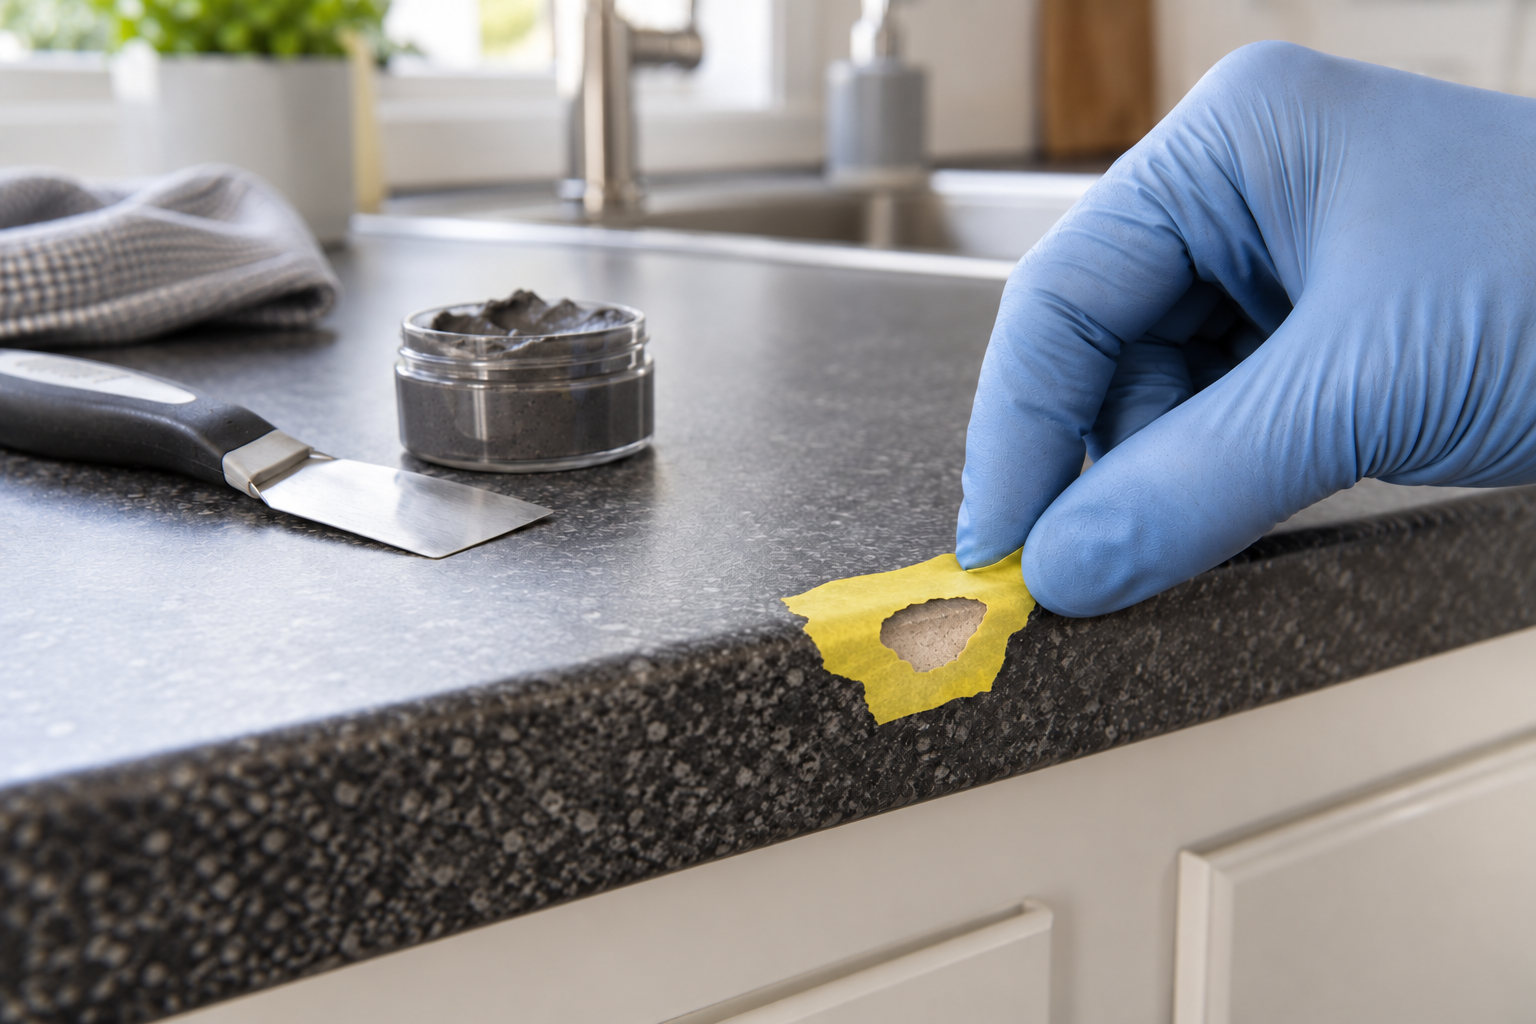
Mask nearby edges, sink rims and contrasting surfaces. Laminate gloss can be dulled by careless sanding, so keep the working area controlled.
3. Prepare a clean key
Follow the kit instructions for lightly abrading the damaged area. The aim is to remove unstable material and create a suitable key without scratching a large halo around the repair.
4. Fill in controlled layers
Mix the compound using the stated ratio and apply only enough to fill the missing area. If the defect is deep, several thin applications may be easier to control than one thick blob. Leave a small amount proud if the instructions allow it so you can shape the repair after curing.
5. Cure fully before shaping
Keep water, cleaning products and kitchen use away from the area for the full stated cure time. “Feels hard” is not the same as fully cured.
6. Shape and blend
Remove excess material gradually with the recommended abrasive. Work from the repair outward and keep checking by touch and reflected light. Stop as soon as the surface is level; over-sanding is difficult to reverse.
7. Match colour and sheen
Compare the repair in the lighting where it will normally be seen. Laminate patterns can include several tones, so a single flat colour may need careful tinting or a finish that recreates the surrounding sheen.
Scratches, scorch marks and dull rings
Not every mark needs filler. A light surface scratch may respond to the worktop manufacturer’s approved cleaner or polishing process. A shallow dull ring can sometimes be blended, but aggressive abrasion can make the area larger and more visible.
Heat damage needs careful assessment. A pan mark that has only affected the finish is different from a blistered, swollen or lifted decorative layer. Do not sand through a large area hoping to reach a clean colour. If the core or substrate is swollen, replacement of the affected section may be more sensible.
Repairing solid-surface and stone-effect worktops
Solid-surface materials can behave differently from laminate because the colour may run through the material. Even so, the manufacturer’s care instructions matter. Use compatible abrasives, keep the repair local and blend progressively.
For engineered stone, quartz or natural stone, confirm the product system with the supplier or a specialist. A small chip may be repairable, but a resin repair can remain visible if the colour, sparkle, edge profile or polish is not matched. Cracks that extend from a cut-out or continue through the slab need assessment rather than a cosmetic patch.
Timber worktops: a different finishing problem
Timber repairs are affected by grain direction, moisture and the existing finish. Clean the area, remove loose fibres, fill only as needed and sand with the grain. The final appearance depends on matching the oil, hardwax or lacquer as well as the wood colour.
Do not flood a joint or sink edge with finish to hide water damage. The moisture source needs to be dealt with first, and swollen or delaminated timber may not be a good candidate for a small cosmetic repair.
Common mistakes to avoid
- Using a generic filler without checking substrate compatibility.
- Applying a repair over grease, polish or dampness.
- Mixing by eye when the product specifies a ratio.
- Sanding a wide dull patch around a small chip.
- Trying to match colour before the surface is level.
- Returning the worktop to use before full cure.
- Using a cosmetic patch to hide a failed joint, leak or swollen core.
- Promising an invisible or permanent structural repair.
When replacement or professional assessment is safer
Ask for an assessment when damage is large, repeated, close to a sink or hob cut-out, spreading from a joint, or associated with movement and water ingress. Replacement may be more economical when the decorative layer has lifted over a large area or the substrate has swollen.
A sound local defect is the right starting point for cosmetic work. A worktop that is moving, leaking or structurally compromised needs the underlying issue resolved first.
Frequently asked questions
Can I repair a chipped laminate worktop?
Often, yes, if the chip is local and the core is dry and stable. Use a compatible repair system and expect the colour match to depend on the pattern and lighting.
Can I sand a burn mark out of a worktop?
Only when the damage is shallow and the material and manufacturer’s instructions allow it. Deep burns, blisters and swollen cores should be assessed instead.
Can I use wood filler on a laminate worktop?
Do not assume it will bond or match the finish. Use a product intended for the actual worktop surface.
Can a cosmetic repair stop a leaking worktop?
No. Find and correct the failed seal, joint, support or plumbing issue. A cosmetic repair should not be presented as waterproofing.
Will the repair be invisible?
Not always. Pattern, gloss, lighting and the position of the damage affect visibility. A realistic aim is a neat repair that blends well in normal use.
What should I practise on first?
Use an offcut or discarded sample of the same material. Practise cleaning, filling, shaping and colour adjustment before working on a prominent area.
Where can I learn the wider process?
The Surface Defect Masters course covers cosmetic repairs across worktops, baths, tiles, UPVC, doors, sinks and other decorative hard surfaces.
Final thoughts
Repairing a kitchen worktop well is mainly an exercise in assessment and restraint. Keep the repair local, use a compatible system, allow the material to cure and judge the result under normal lighting. If the worktop moves, leaks or has a swollen core, resolve that problem before considering cosmetic finishing.
For a related example, read our guide to cosmetic chipped-bath repair and browse the Handyman Hub project guides.